|
Let's create this simple fall background in Adobe Illustrator. 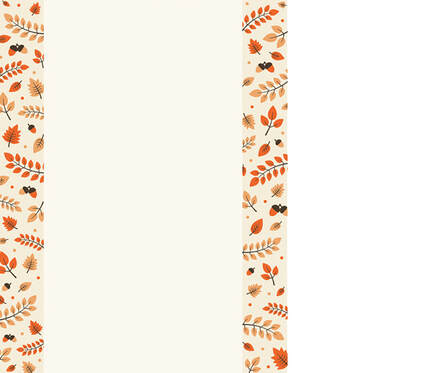 If you would like to download this graphic, click here! (Graphic in CMYK colour mode for printing, setup for US letter size with ¼" bleed). Setup the Document Step 1. First we'll create a new document with these settings: Width: 8.5 inches Height: 11 inches Units: Points Bleed: 0.25 inches (all edges) Colour Mode: CMYK Raster Effects: High (300 ppi) Then click OK. 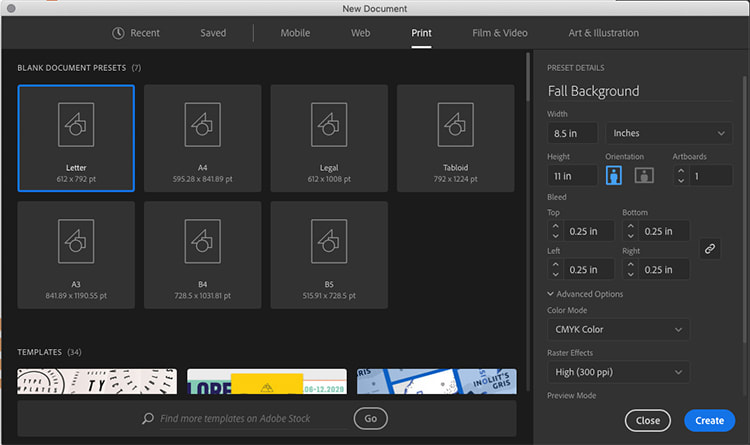  You should see a red line offset around the edge of the artboard. This is the bleed edge. Add the Background Colours Step 1. Select the Rectangle Tool and click once on the artboard, enter these values in the Rectangle Dialogue box: Width: 648 pt Height: 828 pt 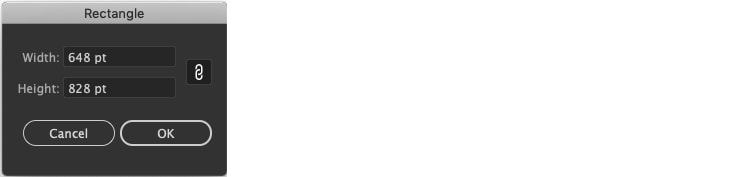 Step 2. The rectangle will fill the artboard and extend out to the bleed line. Give this rectangle a solid colour fill of: C=4 M=5 Y=14 K=0  Step 3. Open the Layers Panel. Rename the current layer to "Background". 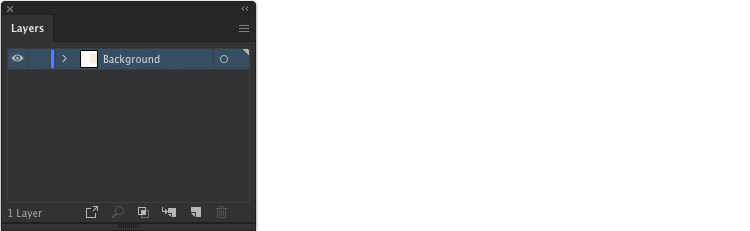 Step 4. Click on the New Layer icon (in the red outline square) and give this layer the name "Light Rectangle". 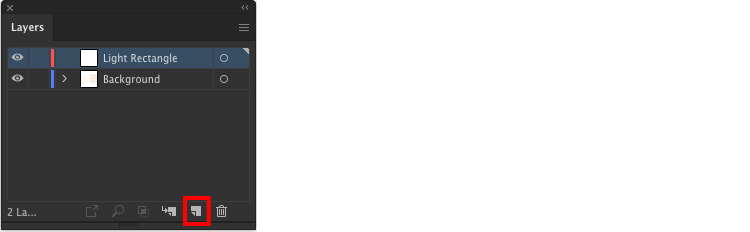 Step 5. In your new layer, using the Rectangle Tool, click once and enter the values: Width: 418 pt Height: 828 p  Step 6. Centre this rectangle on the document and give it a solid colour fill of: C=1 Y=2 M=6 K=0  Now lock the "Light Rectangle" layer and click on the "Background Layer". 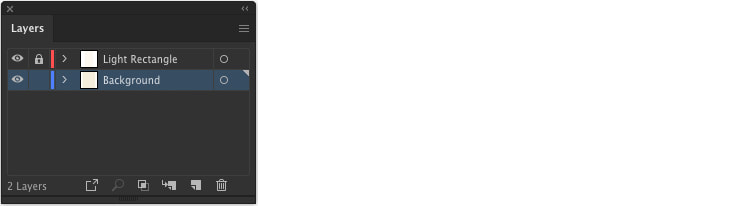 Create a Leaf Branch Step 1. Using the Pen Tool create a curved line and give the stroke a dark brown colour of: C=53 M=62 Y=75 K=57 With your line still selected open the Stroke Panel and use these values: Weight: 2 pt Profile: Width Profile 4 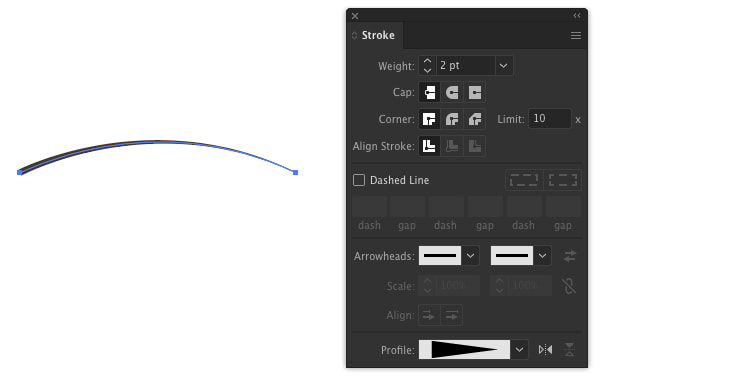 Step 2. Next select the Ellipse Tool from the toolbar and click once, enter values of 15 pt for both the Width and the Height.  Give the circle an orange fill of: C=2 M=75 Y=95 K=0  Using the Direct Selection Tool, click on the top anchor point and drag it upwards. Bring both handles into the anchor point to create a sharp point. Next select the two side anchor points and move them up to create a teardrop shape.  Step 3. Position and resize the leaves along the branch like below.  Step 4. Using the Pen Tool, add lines from the branch to the centre of the leaves. This time we will give the lines a weight of 0.75 pt, and use Width Profile 4. 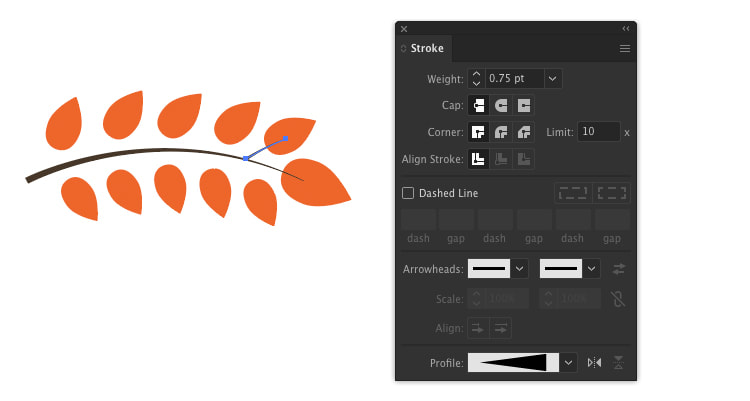 Step 5. When complete, duplicate the shape and change the leaf colour to a paler orange: C=5 M=40 Y=65 K=0  Create a Trio of Leaves Step 1. Repeating the same process as the last step, create a vertical branch. 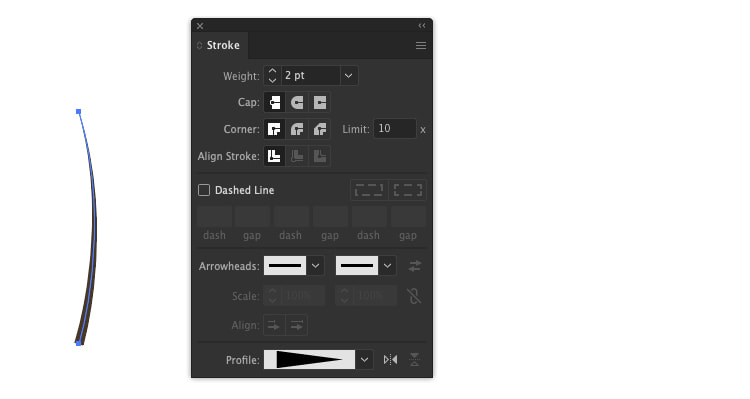 Step 2. Copy the orange leaf shape from the previous branch and position the three like below. Use the Pen Tool to add in thinner branches connecting the side leaves to the branch. 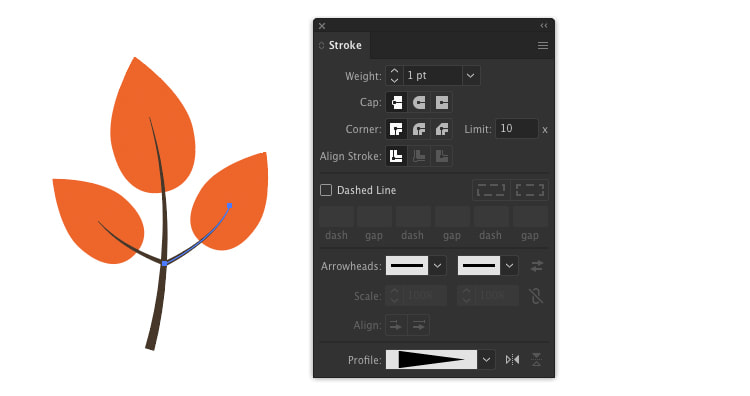 Step 3. Duplicate the trio and recolour the second set of leaves to the paler orange.  Create a Single Leaf Step 1. Following the same process as before, use a single leaf and position it on a vertical stem. Use the Pen Tool to add a series of three veins to each side of the leaf. 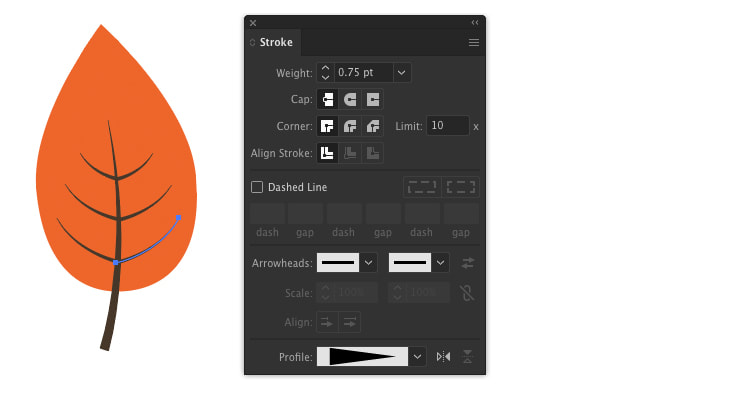 Step 2. Let's also duplicate this leaf and recolour it with the paler colour.  Create an Acorn Step 1. Using the Ellipse Tool, create an oval with the values: Width: 14pt Height: 22pt 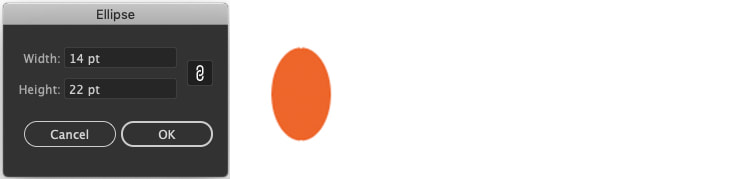 Step 2. Draw a tiny narrow oval and place it central on the base of the first oval and fill both with orange. To add the cupule, draw a brown oval with the Ellipse Tool. Then use the Direct Selection Tool to create a flat lower edge like below.  Step 3. To finish the acorn, use the Pen Tool and draw a stem. Give the line a 2 pt weight, and a profile of Width Profile 4 from the drop down menu. 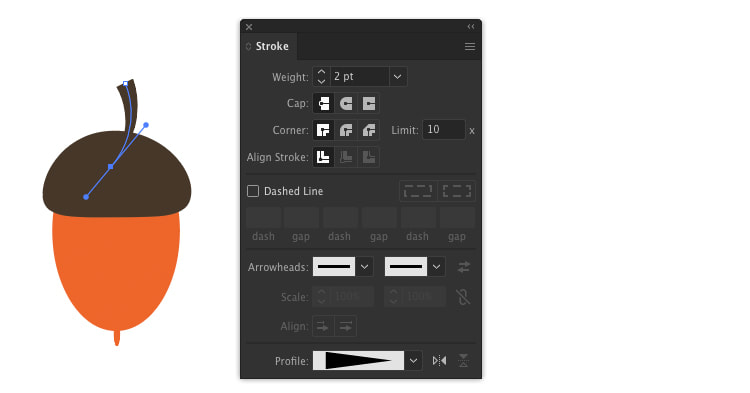 Step 4. Group the elements of the acorn, then duplicate and recolour the orange fill to the paler colour. Scale down the paler acorn and go to Object > Transform > Reflect. In the Reflect Window, choose Vertical, then click OK.  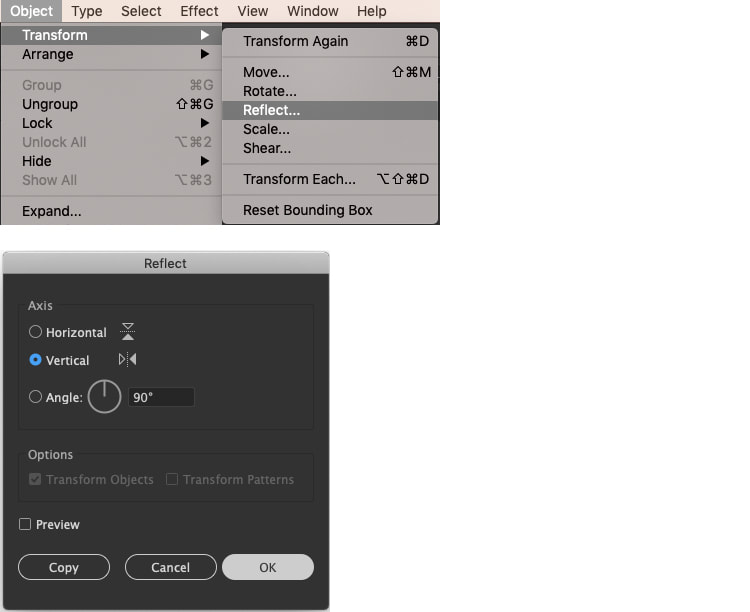 Create a Spiky Leaf Step 1. Use the Pen Tool and create a vertical stem with a 2 pt weight, and Width Profile 4. Step 2. Copy the orange teardrop shape from a previous leaf. Place one at the top of the stem, then duplicate and layer several down each side like below.  Step 3. Copy the leaf and recolour with the paler colour.  Add some Dots Step 1. Use the Ellipse Tool to create two circles with 6 pt width and height.  Step 2. Fill one with orange and the other with the pale colour.  Expand all Shapes Step 1. Group the elements for each individual leaf together, then go to Object > Expand Appearance. 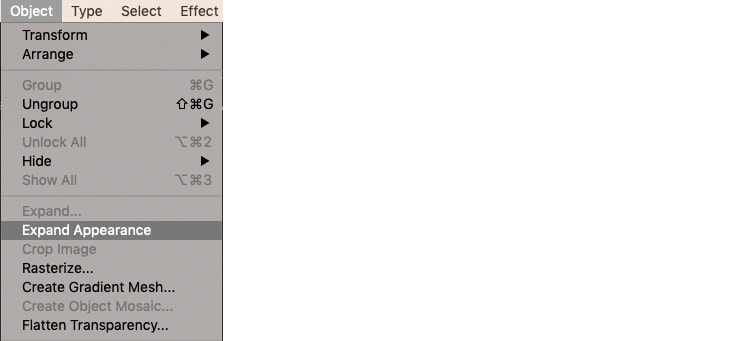 Build the Leaf Pattern Step 1. Make sure you are in the Background Layer as we want the pattern to be behind the Light Rectangle Layer. Step 2. Take your shapes and start arranging them on the page. 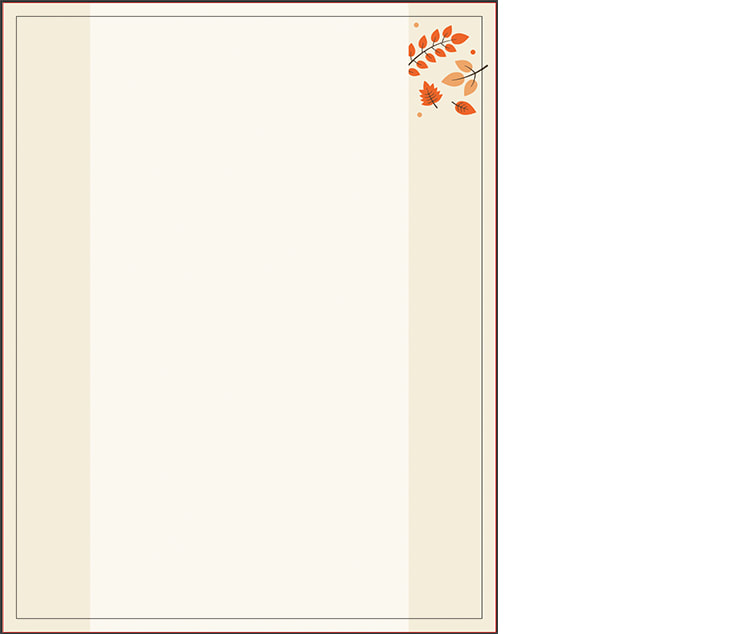 Step 3. Once complete, your design should look something like this. Extend some shapes beyond the artboard and behind the light rectangle for a continuous effect.  Here is a preview of the final background: 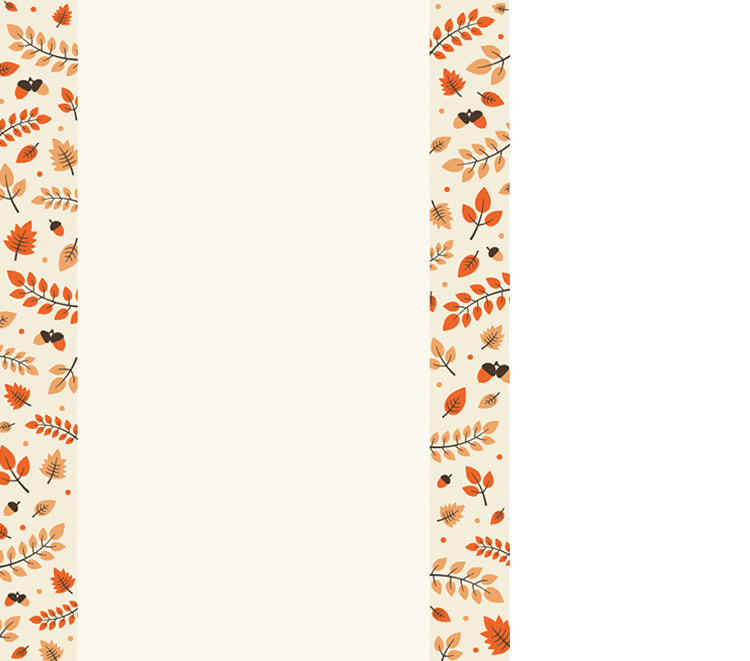 Thank you for reading this tutorial, if you would like to download this free background, click here!
Comments are closed.
|
Contact UsLocal: 604-270-8682
Toll-free: 1-800-663-8273 Weekdays 9AM – 5PM
|
Visit Us#7 - 12840 Bathgate Way,
Richmond, BC, V6V 1Z4 |
|
|