|
In this tutorial you will learn how to create all the elements for this festive Christmas Party Poster in Adobe Illustrator! Below is a preview of what you will be creating. 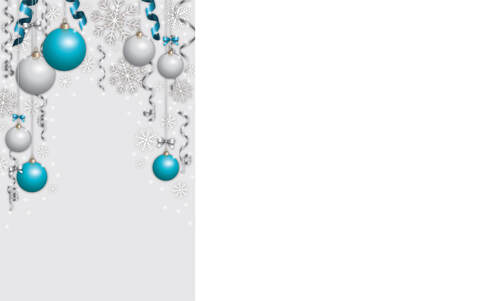 If you would like to skip this tutorial and download the poster, click here! (sized at 11"x17", with 1/8" bleed and offset cropmarks) How to create the Background Step 1. First we need to create our document. Go to File > New and input the following settings: Size: Tabloid Width: 11 in Height: 17 in Bleed: 0.125 in (all edges) Color Mode: CMYK Raster Effects: High (300ppi) 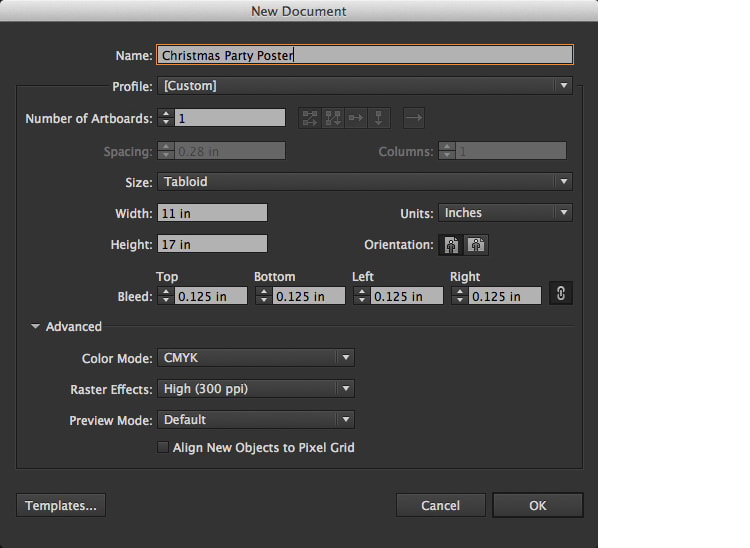 Step 2. Now that we have our document, go to the Layers Panel and create the following layers. Click once in the Background Layer for the next step. 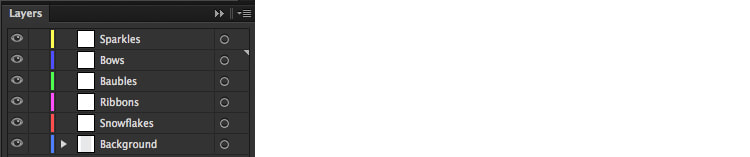 Step 3. To create the background, select the Rectangle Tool and click once. Input the following values in the pop-up window. Width: 11.25 in Height: 17.25 in 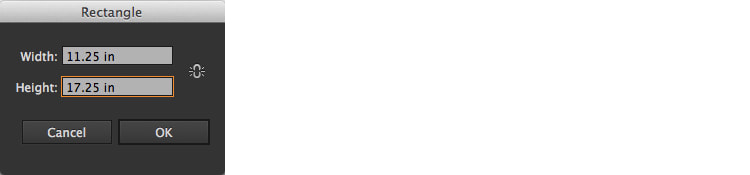 Align the new rectangle to the red bleed edge lines in the document. Set the colour values to C=0 M=0 Y=0 K=10. 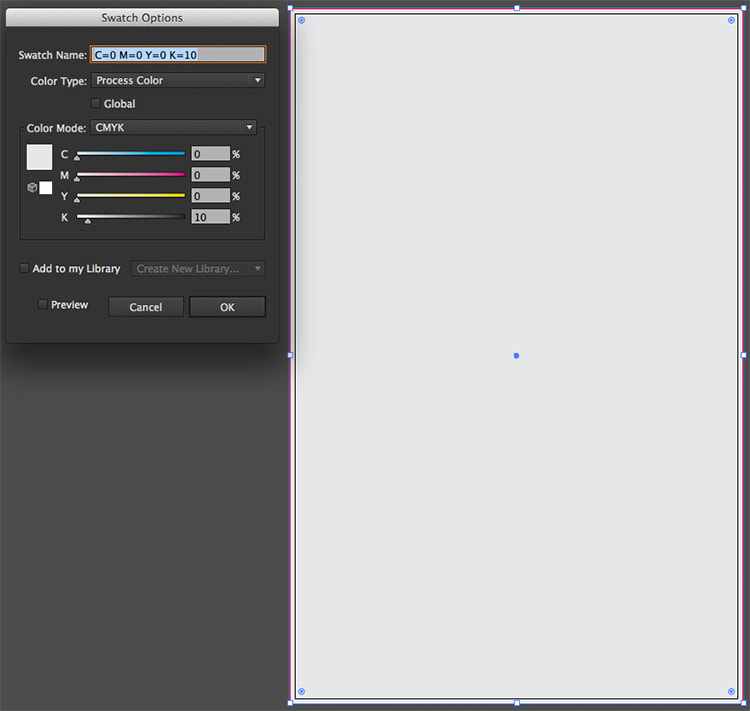 Go back to your Layers Panel and lock the Background Layer, click on the Snowflakes Layer. 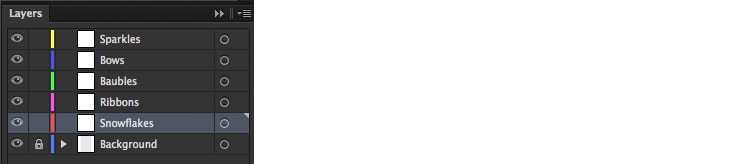 How to create the Snowflakes Step 1. Before we create the snowflakes, go to the menu Illustrator > Preferences > Units and change General to Points, then click OK. 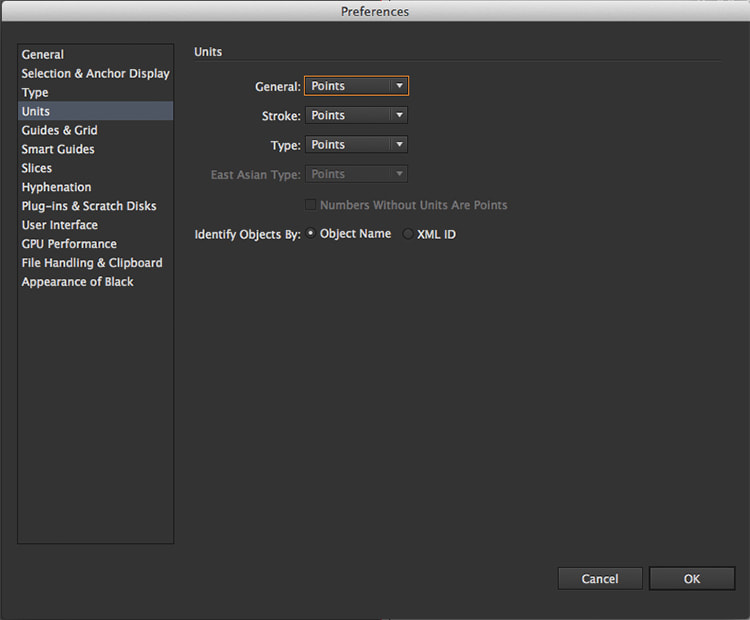 Step 2. Select the Line Tool and click once on the Artboard. In the options window type 130pt for the Length, and 90° for the Angle, and click OK. 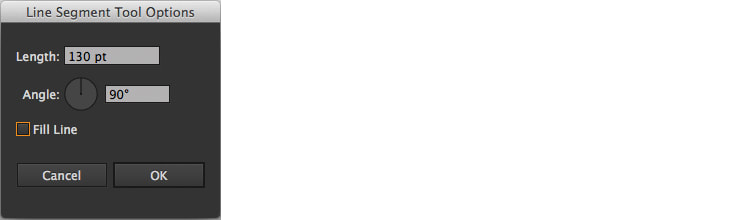 Step 3. When the line appears on the page, with the line selected still, open the Stroke Panel and change the Weight to 7pt and select Round Cap under Cap. 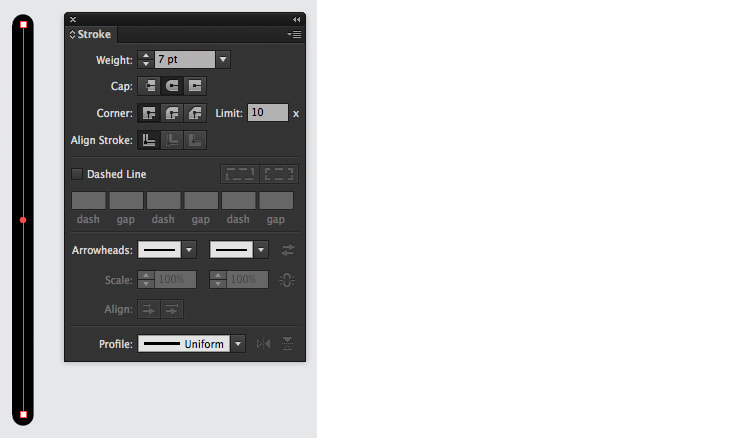 Step 4. Click away from the line you make in the previous step to deselect it. Using the Line Tool again, click once and this time input the length at 30pt and the Angle as 45°, and click OK. 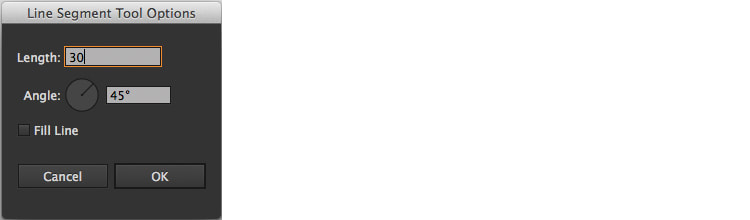 Step 5. With the Selection Tool, select the shorter line from the previous step and move it to align the lower anchor point with the centre of the 130pt line (see below).  Step 6. Keeping the shorter line selected, go to Object > Transform > Reflect. Select the Vertical option, ensure your Angle is set to 90° and click Copy. 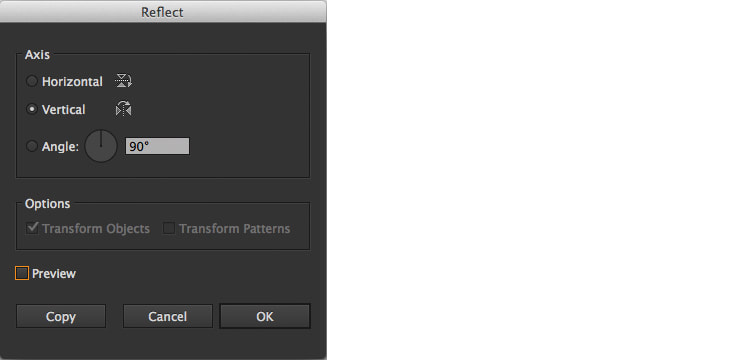 Step 7. Using the Selection Tool, move the line to the left side of the 130pt line, aligning the lower anchor point with the centre of the 130pt line as seen below.  Step 8. Following the previous steps, create more 45° lines to create something similar to the image below. Then using the Selection Tool select all the lines. 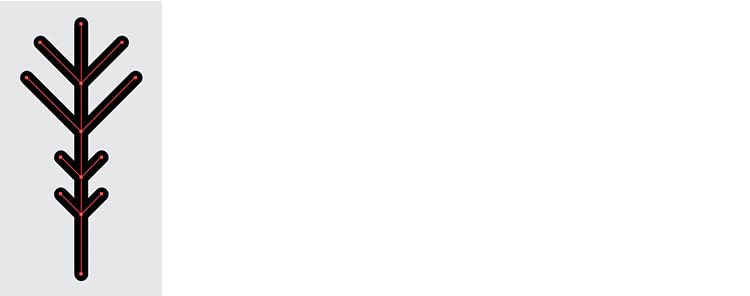 Step 9. With all the lines selected choose the Rotate Tool. Hold down the alt/option key on your keyboard and click once at the lower anchor point of the 90° 130pt line to open the Rotate options window. Type in a value of 45° for the angle and click Copy. 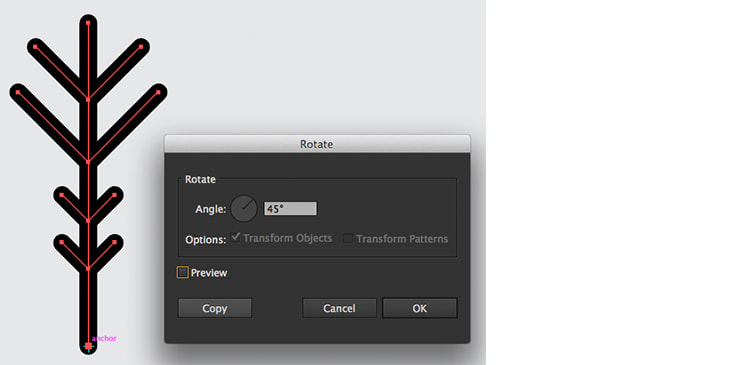 Step 10. This is the result, do not click away and deselect the lines. 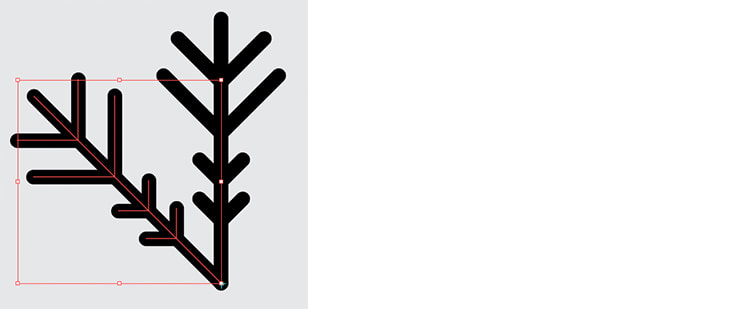 Step 11. To complete the rest of the snowflake press down Command + D on your keyboard six times. 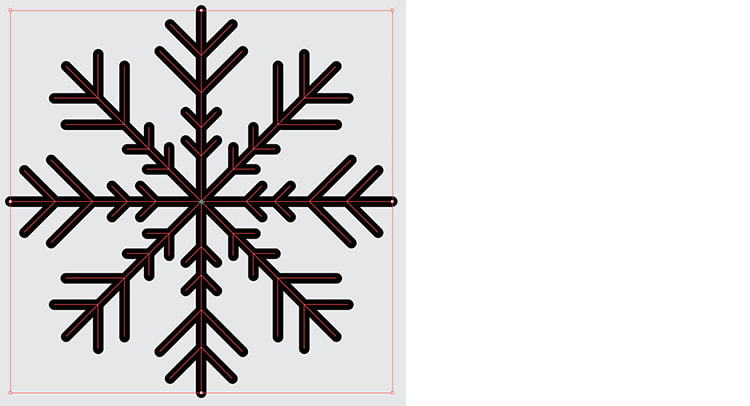 Step 12. Make sure all the lines are still selected and go to Object > Expand to open the options window. Check the Stroke box, and click OK. 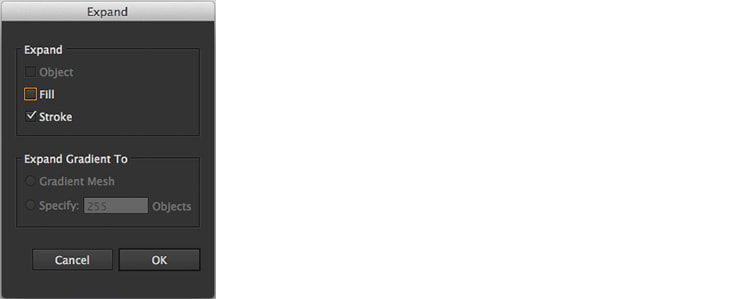 Step 13. With all the shapes selected, open your Pathfinder Window and select the first icon Unite under Shape Modes.  Step 14. Now your snowflake is a single object.  Step 15. Duplicate the snowflake, fill one with white and the other with a linear gradient with alternating values of C=3 M=3 Y=3 K=0 and C=20 M=20 Y=20 K=0. 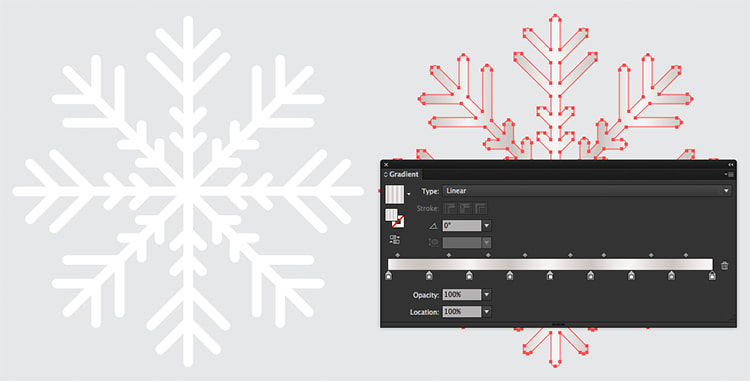 Step 16. Keeping the gradient filled snowflake selected, go to Object > Path > Offset Path. Enter -2.5pt in Offset and click OK. 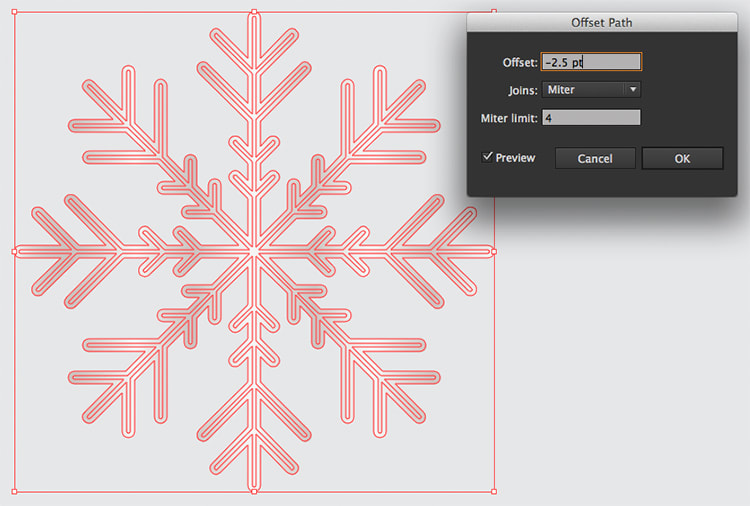 Step 17. Select the new offset path and in the Gradient Panel, change the Angle to 60°. 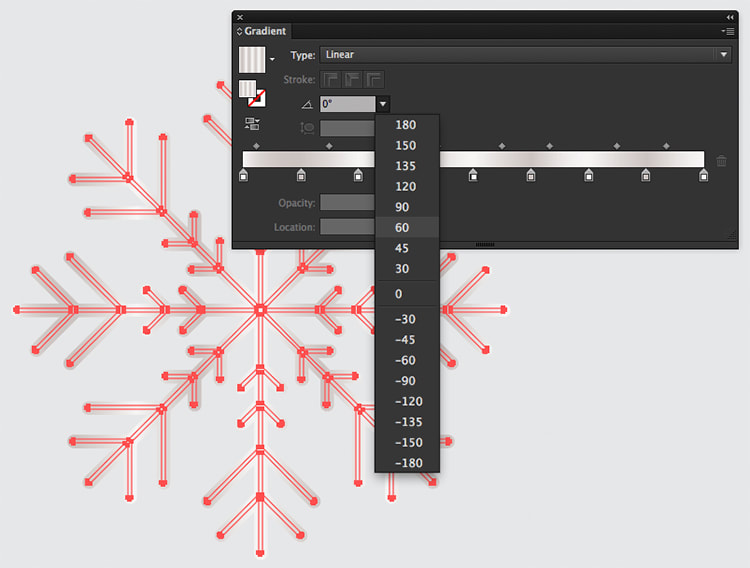 Step 18. Select both your snowflakes and go to Effect > Stylize > Drop Shadow and input the following values and click OK. Mode: Multiply Opacity: 35% X Offset: 0 pt Y Offset: 0 pt Blur: 5pt Colour: (Black) 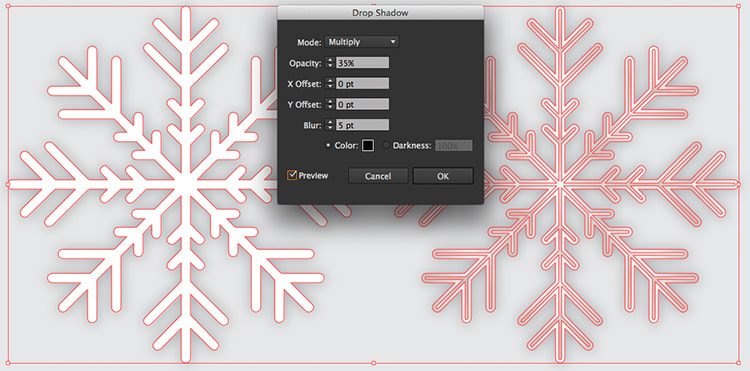 Step 19. Duplicate, resize and rotate your snowflakes and arrange randomly on the page. You can always move them around after the other elements are added. 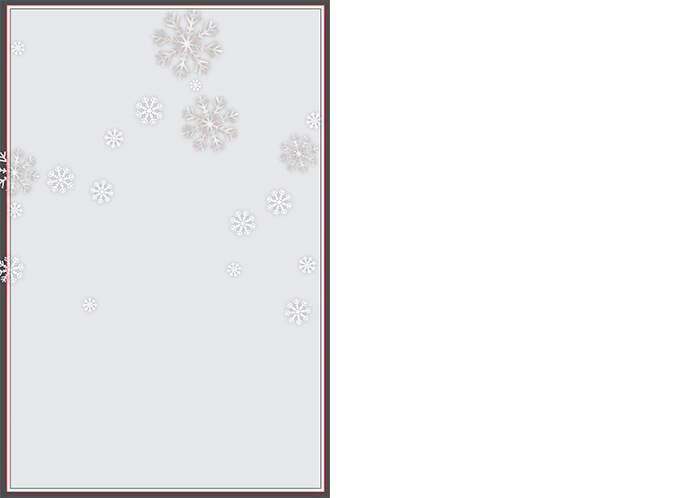 How to create the Ribbons Step 1. First let's lock the Snowflakes Layer and click on the Ribbons Layer in the Layer Panel. Now go to the Brushes Panel and double click on the 5 pt. Flat Brush. Input 10 pt for the size in the Calligraphic Brush Options window and click OK. 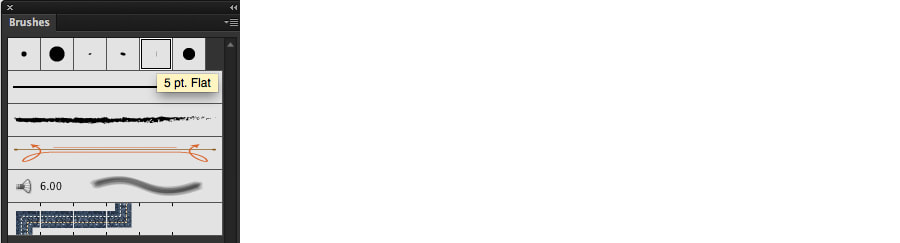 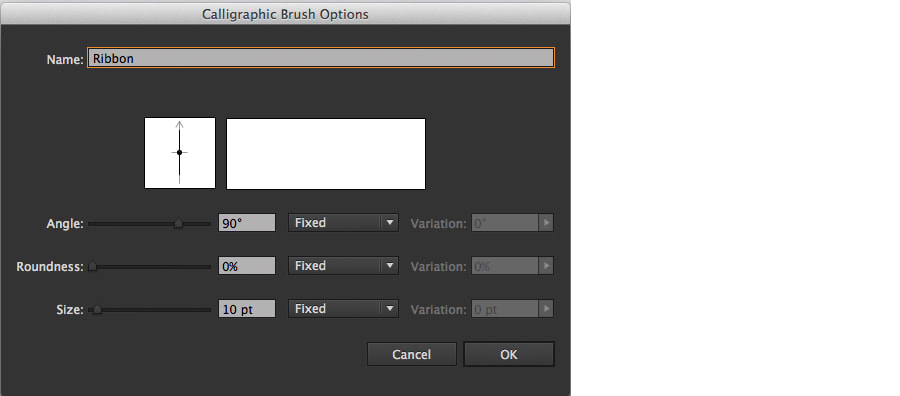 Step 2. Draw nine different ribbons using the Brush Tool (make sure the 10pt Flat Brush is selected). Now that you've got nine different ribbons use the Selection Tool and select all the paths, go to Object > Expand Appearance to change these from paths to objects. 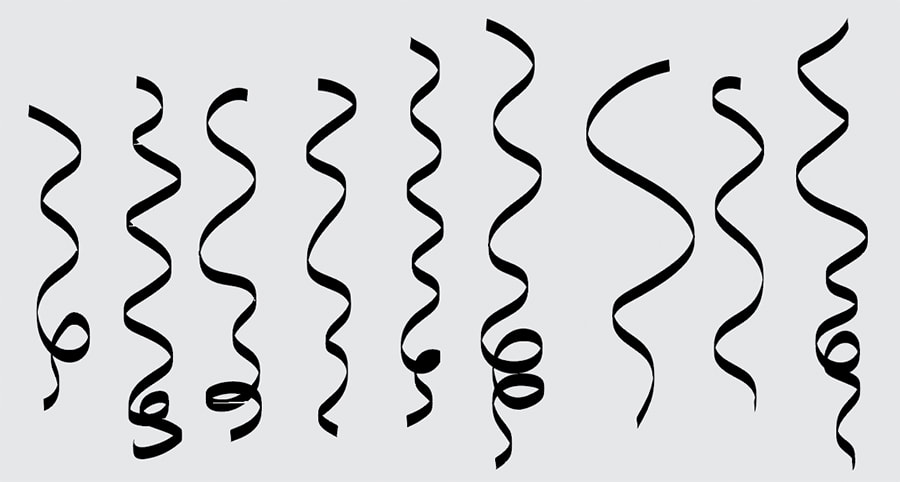 Step 3. Keeping all the lines selected, give them a linear gradient fill using these values: 1. K=70 2. K=15 3. K=80 4. K=8 5. K=60  Step 4. To finish, add a drop shadow by going to Effect > Stylize > Drop Shadow and input these values then click OK. Mode: Multiply Opacity: 55% X Offset: 0 pt Y Offset: 0 pt Blur: 5pt Colour: (Black) 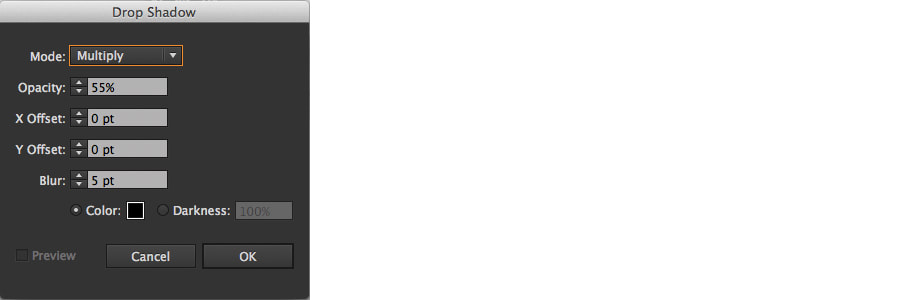 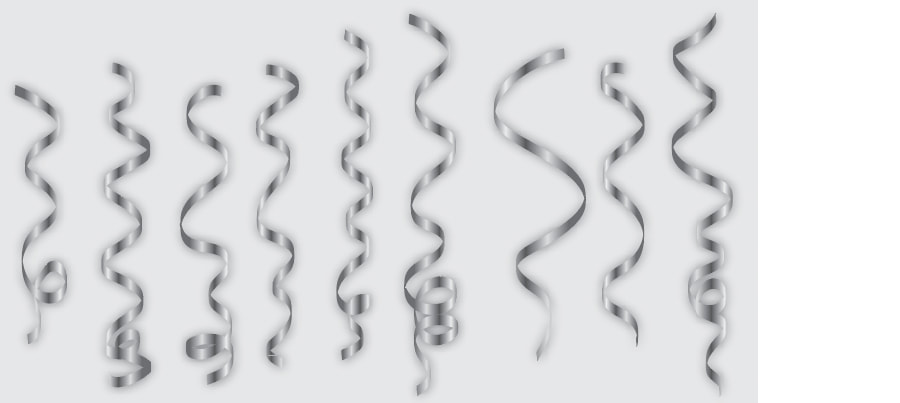 Step 5. Let's add some larger blue ribbons to the poster. Open the Brushes Panel and double click on the 10 pt. Flat Brush to open the Calligraphic Brush Options window. Change the size from 10 pt to 30 pt and click OK. 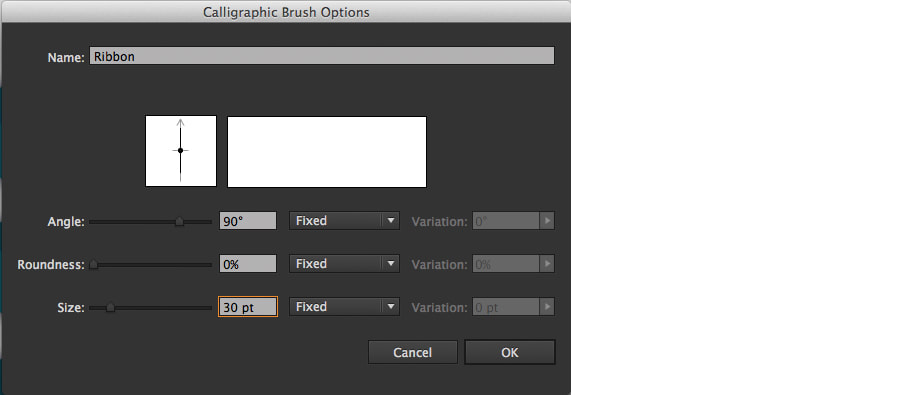 Step 6. Using the Brush Tool (and selecting the new 30 pt. Flat Brush) draw three more lines. Again, select all three paths using the Selection Tool and go to Object > Expand Appearance.  Step 7. To add in some highlights and give the ribbon a more three-dimensional look, select the Pen Tool and draw the following shapes. Repeat this step for the other two ribbon shapes. Add a gradient fill to them using the values: 1. C=85 M=35 Y=25 K=0 2. C=70 M=10 Y=10 K=0 3. C=40 M=0 Y=2 K=0 4. C=80 M=25 Y=20 K=0 5. C=95 M=55 Y=40 K=20 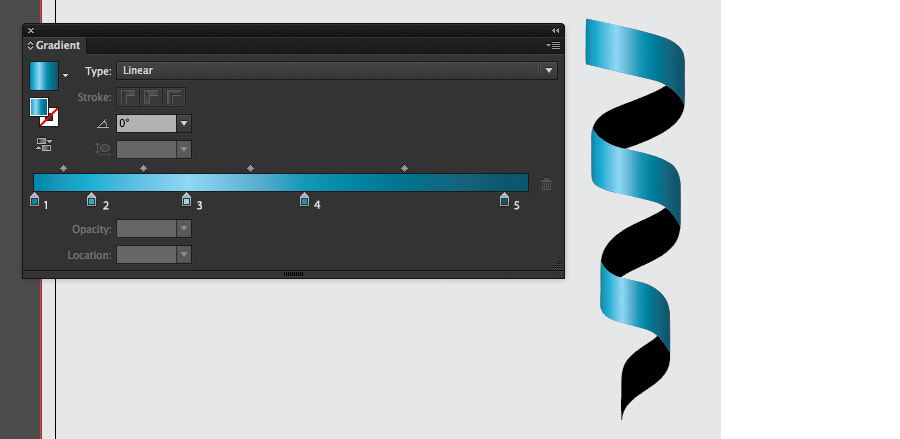 Step 8. Now select the original ribbon shape and fill with the darker gradient. 1. C=95 M=70 Y=50 K=50 2. C=90 M=55 Y=45 K=25 3. C=95 M=70 Y=50 K=50 4. C=90 M=55 Y=45 K=25 5. C=95 M=70 Y=50 K=50 Group all the elements in a single ribbon together to create three objects. 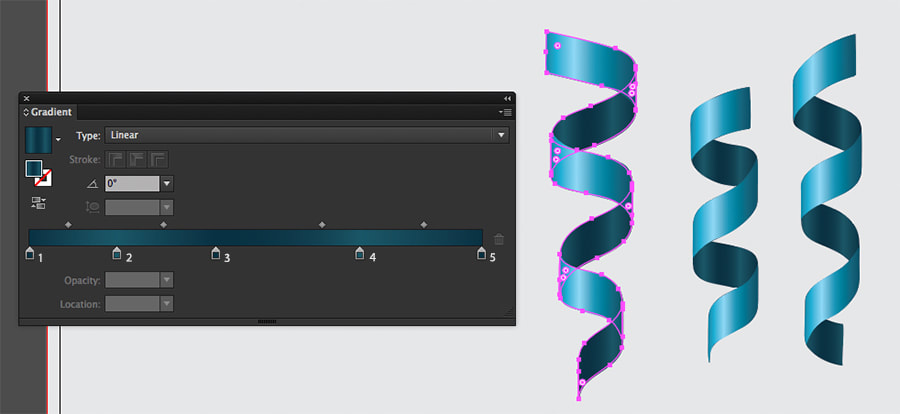 Step 9. Arrange your ribbons around the top of the page. Lock this layer and move to the Baubles Layer. 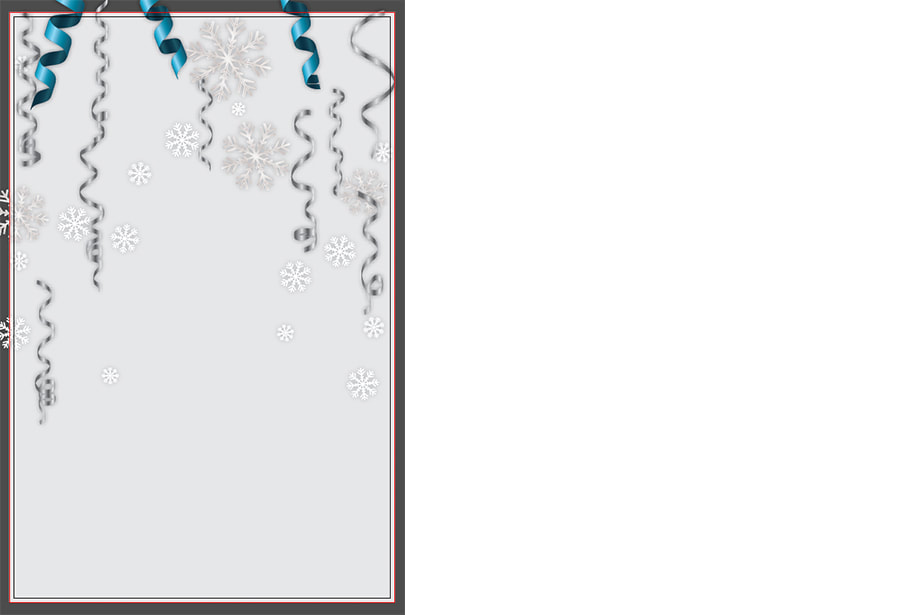 How to create the Baubles Step 1. Select the Ellipse Tool and click once to open the option window. Type in the values 135 pt for both width and height then click OK.  Step 2. Fill the circle with a radial gradient and values of: 1. C= 33 M=0 Y=2 K=0 2. C=80 M=5 Y=19 K=0 3. C=95 M=27 Y=40 K=34 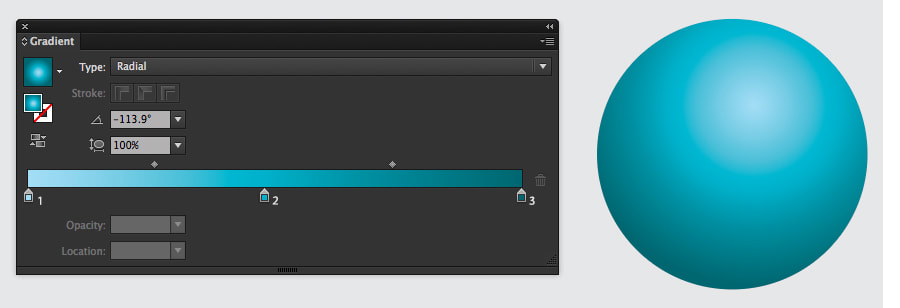 Step 3. Now we are going to add a highlight to the bauble. Draw an ellipse with the Ellipse Tool like below and fill with a radial gradient using these values: 1. K=0, Opacity: 90% 2. K=0, Opacity 0% 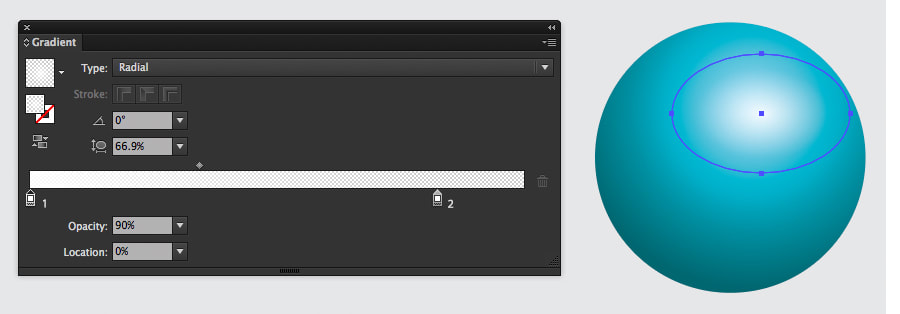 Step 4. Let's create the top of the bauble with a hook. Select the Pen Tool and draw a shape like below and fill with a linear gradient using the values: 1. C=40 M=45 Y=55 K=10 2. C=40 M=55 Y=60 K=15 3. C=35 M=35 Y=60 K=5 4. K=0 5. C=20 M=35 Y=50 K=0 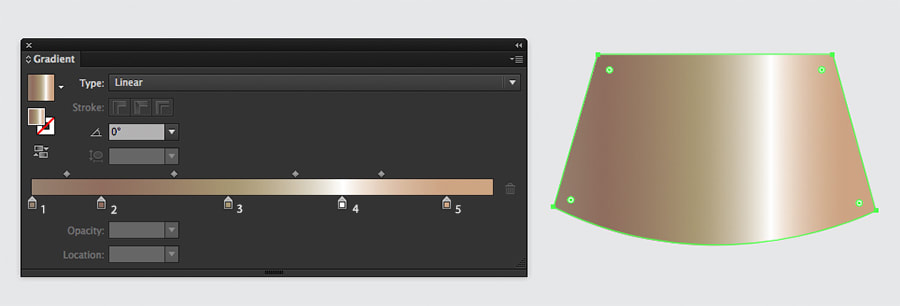 Step 5. Using the Ellipse Tool, draw an ellipse to cover the top of the shape and fill with a radial gradient using these values: 1. C=55 M=55 Y=65 K=40 2. C=35 M=35 Y=60 K=5 3. C=8 M=7 Y=2 K=0 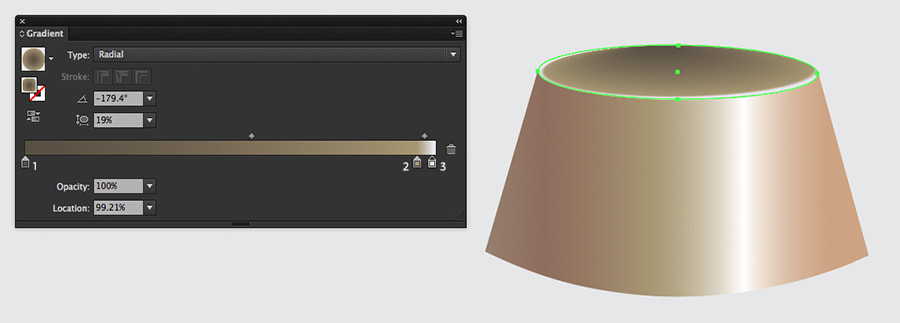 Step 6. With the Pen Tool, create the hook shape and fill with a linear gradient at 90° with the values: 1. C=50 M=55 Y=60 K=25 2. C=30 M=30 Y=55 K=0 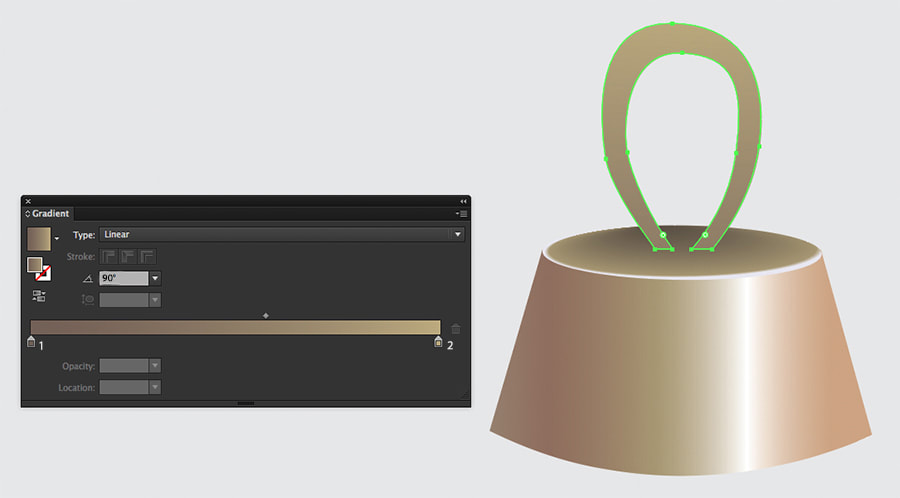 Step 7. Now create a smaller ellipse at the bottom of the hook with the Ellipse Tool and fill with a linear gradient at 90° using these values: 1. C=60 M=55 Y=70 K=50 2. C=40 M=45 Y=50 K=10 Using the Selection Tool select this ellipse and and press Command + [ on your keyboard to move it behind the hook. 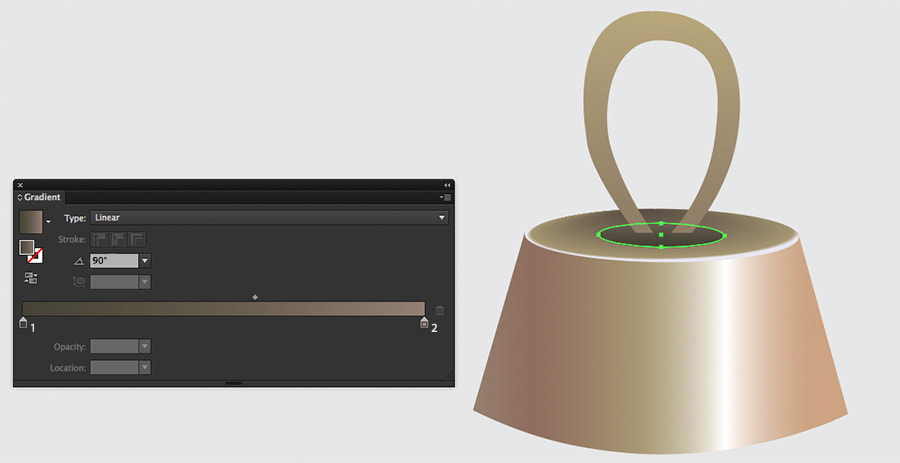 Step 8. Lastly, select all the shapes for the top of the bauble and duplicate them, open your Pathfinder Window and select the first icon Unite under Shape Modes. This will be the reflection shape. Fill the new united shape with the linear gradient at 90°. 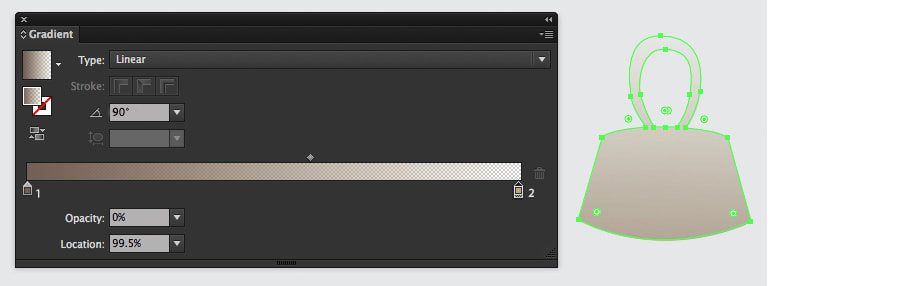 Step 9. Take all the elements for the hook and move them to the top of the blue bauble ellipse using the Selection Tool. Select just the reflection shape and rotate it by going to Object > Transform > Rotate. Type in 180° for the angle and click OK. 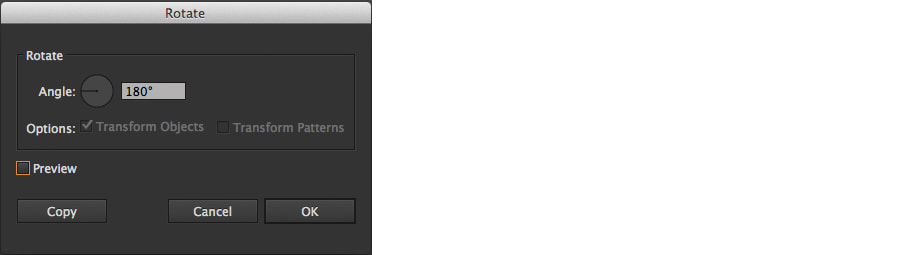 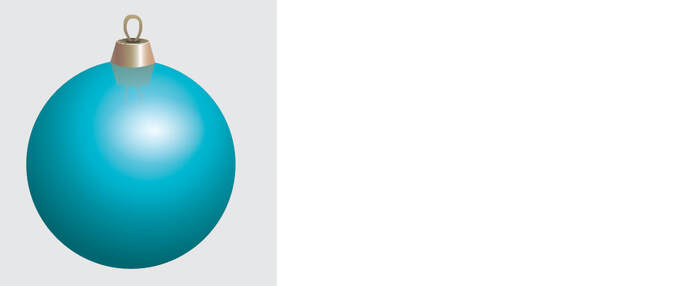 Step 10. Select all the elements of the bauble and duplicate them. To create a silver bauble let's select the blue ellipse and change the radial gradient values in the Gradient Panel to: 1. K=10 2. K=20 3. K=70 Select all the bauble elements with the Selection Tool and group them with Object > Group. 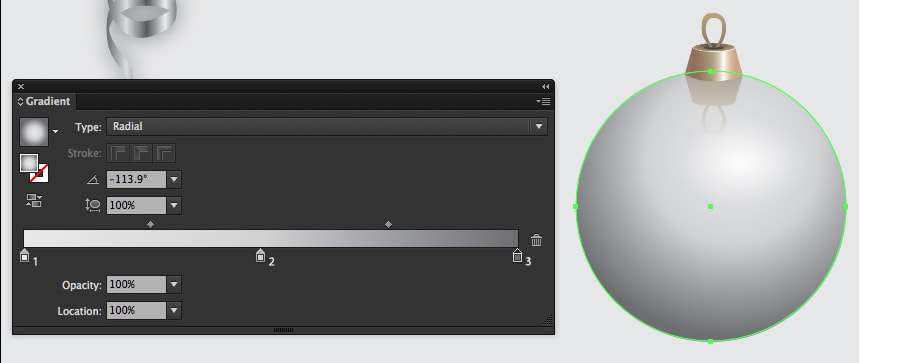 Step 11. Create the string for both baubles with the Rectangle Tool, make the rectangle 2 pt in width and a 100 pt height. (The height will change in Step 13). Fill with a linear gradient at 90° using alternating values: 1. K=35 2. K=15 3. K=35 4. K=15 5. K=35 6. K=15 7. K=35 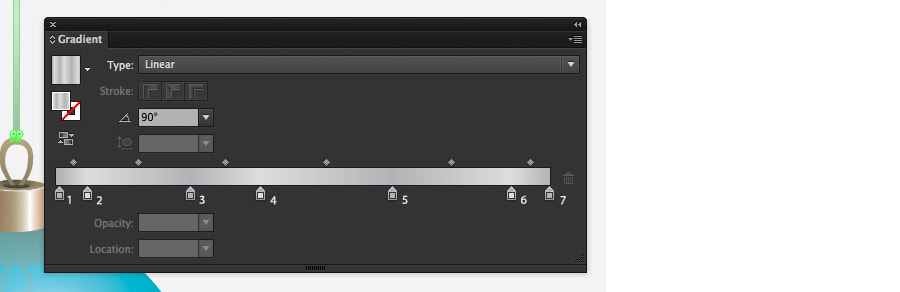 Step 12. Select all the objects for the baubles and go to Effect > Stylize > Drop Shadow with these values: Mode: Multiply Opacity: 75% X Offset: 0 pt Y Offset: 0 pt Blur: 5 pt Colour: Black Now click OK. 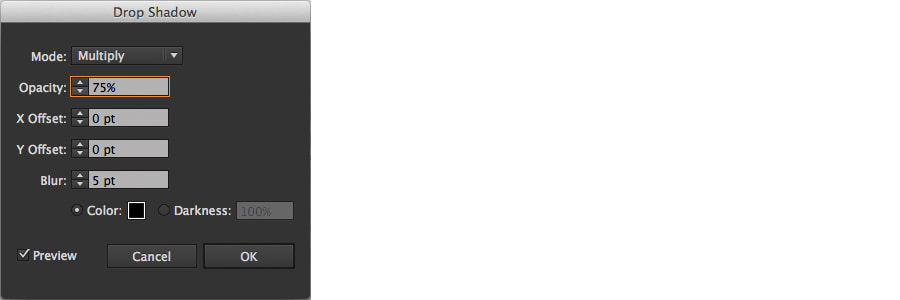 Step 13. Arrange the baubles around the page and change the heights of the strings so that they reach the red bleed line at the top of the artboard.  How to create the Bows Step 1. Lock your Baubles Layer and click on the Bows Layer in the Layer Panel. First draw a shape (like below) and fill with the gradient values: 1. C=85 M=35 Y=30 K=2 2. C=70 M=10 Y=10 K=0 3. C=40 M=0 Y=2 K=0 4. C=80 M=25 Y=20 K=0 5. C=95 M=55 Y=40 K=20 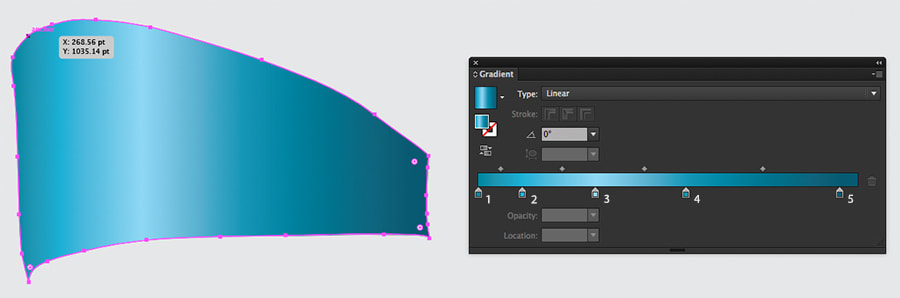 Step 2. Draw the back of the ribbon and press Command + [ on your keyboard until it appears behind the first shape. Fill with a gradient using these values: 1. C=95 M=75 Y=50 K=60 2. C=90 M=55 Y=40 K=20 3. C=95 M=75 Y=50 K=60 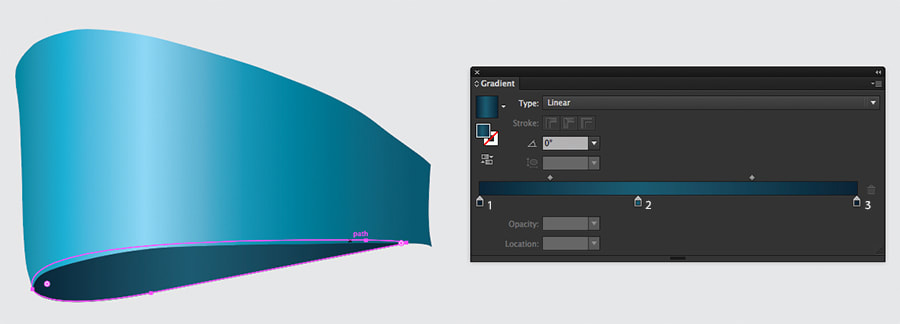 Step 3. Now we are going to draw the centre of the bow. Fill this shape with a gradient using these values and set the angle to -90°. 1. C=85 M=35 Y=30 K=2 2. C=70 M=10 Y=10 K=0 3. C=40 M=0 Y=2 K=0 4. C=80 M=25 Y=20 K=0 5. C=95 M=55 Y=40 K=20 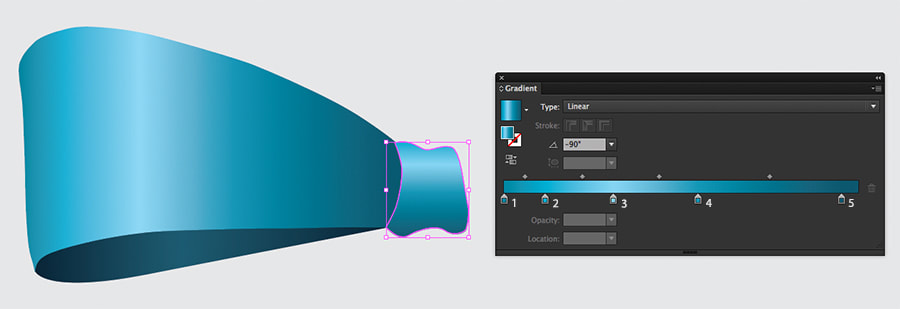 Step 4. To finish this half of the bow, draw a similar shape to below and fill with a gradient using these values and set the angle to 45°. 1. C=85 M=35 Y=30 K=2 2. C=70 M=10 Y=10 K=0 3. C=40 M=0 Y=2 K=0 4. C=80 M=25 Y=20 K=0 5. C=95 M=55 Y=40 K=20 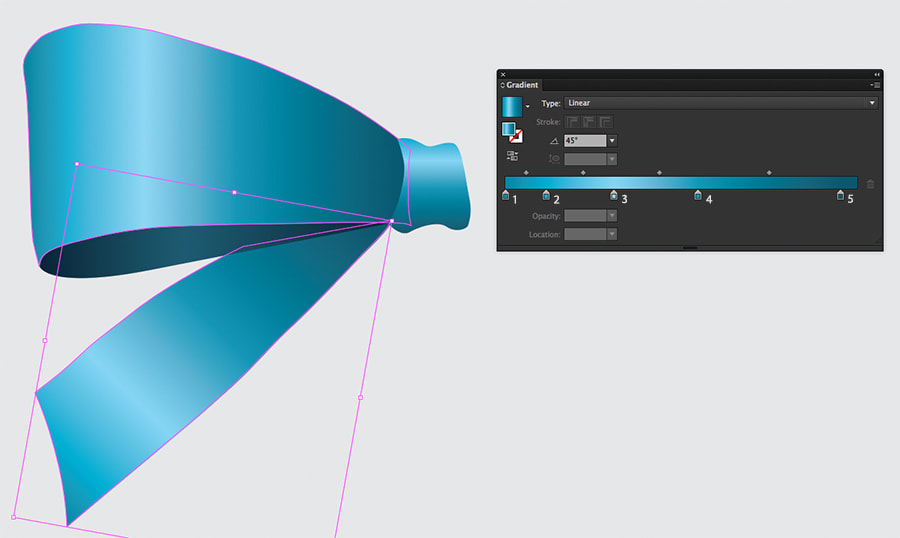 Step 5. Duplicate the half of the blue bow and this time we're going to make a silver coloured one. For this first shape, change the gradient values to: 1. K=70 2. K=25 3. K=0 4. K=40 5. K=75 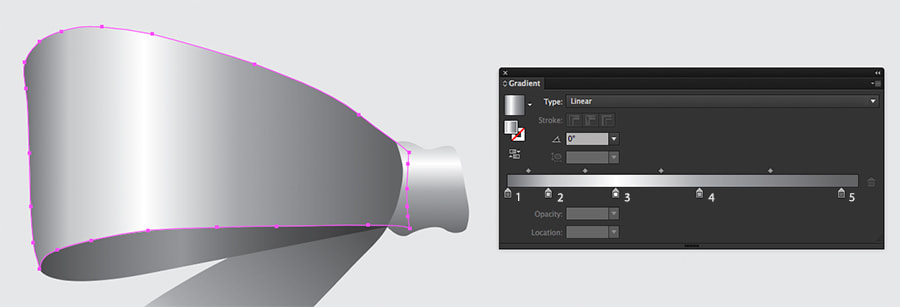 Step 6. Change the gradient values for this shape to: 1. K=85 2. K=50 3. K=90 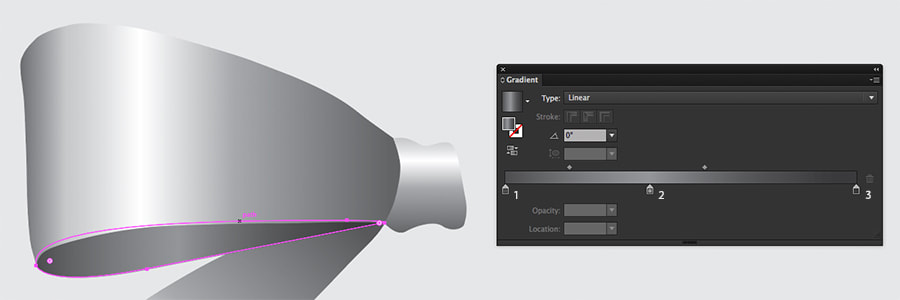 Step 7. For the centre of the bow. Change the gradient using these values and set the angle to -90°. 1. K=70 2. K=25 3. K=0 4. K=40 5. K=75 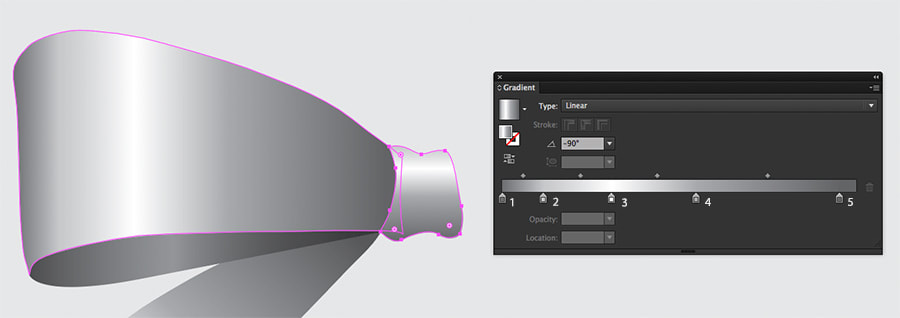 Step 8. Finally, change the values of this shape and set the angle to 45°. 1. K=70 2. K=25 3. K=0 4. K=40 5. K=75 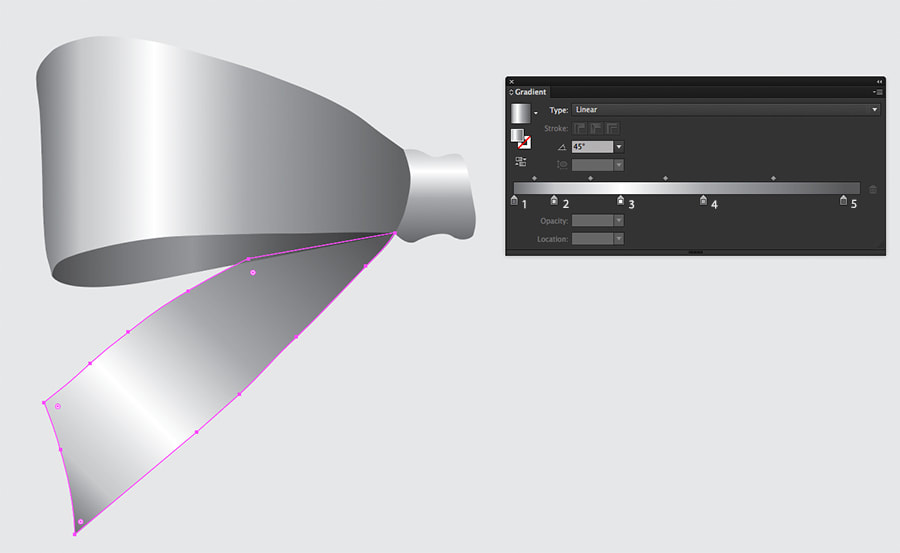 Step 9. Select all the shapes except for the centre of the bow and go to Object > Transform > Reflect and hit Copy. Move these duplicated shapes to create the right side of the bow. Repeat this step for the silver bow.  Step 10. Here is the result, select all the objects in the silver bow and go to Object > Group. Repeat this for the blue bow. 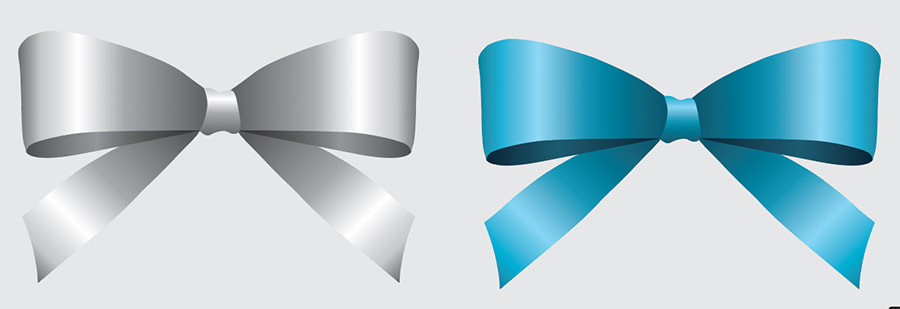 Step 11. Select both bows and go to Effect > Stylize > Drop Shadow and input the following values: Mode: Multiply Opacity: 55% X Offset: 0 pt Y Offset: 0 pt Blur: 5pt Colour: Black 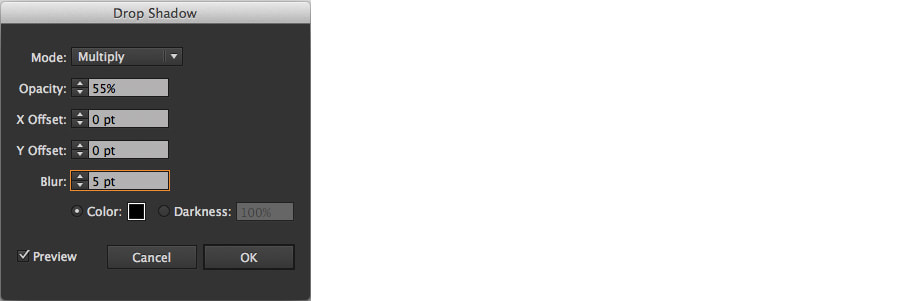 Step 12. Arrange your bows around the different elements in the poster. When finished, lock the Bows Layer and click on the Sparkles Layer in the Layers Panel. 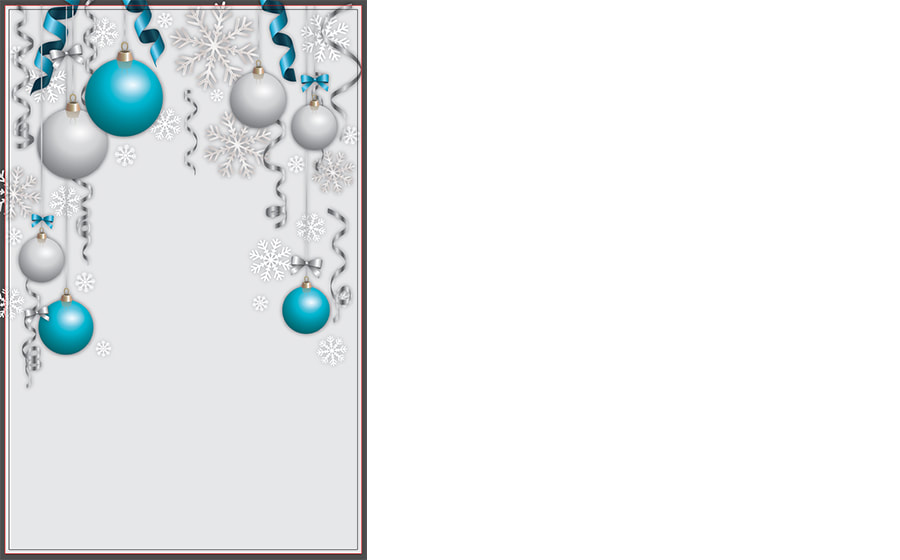 How to create the Sparkles Step 1. In the Sparkles Layer, create an ellipse with a 27 pt width and 27 pt height. Fill with a radial gradient, with the values: 1. K=0, Opactiy: 90% 2. K=0, Opacity: 0% 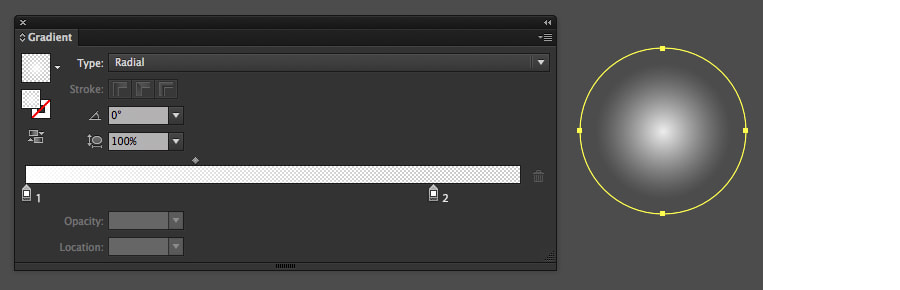 Step 2. Place the sparkles around the poster and your done! 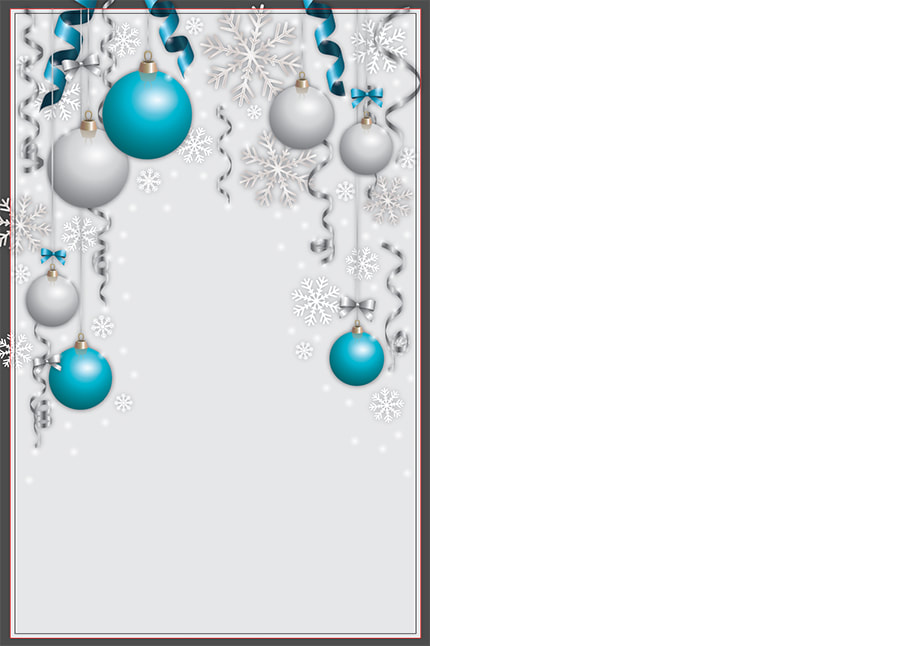 If you would like to download our version of the poster click here!
(Complete with bleed, offset crop marks and sized to 11"x17") Thank you for reading this tutorial! Comments are closed.
|
Contact UsLocal: 604-270-8682
Toll-free: 1-800-663-8273 Weekdays 9AM – 5PM
|
Visit Us#7 - 12840 Bathgate Way,
Richmond, BC, V6V 1Z4 |
|
|