|
In today's tutorial you will create this red glossy vector button in Adobe Illustrator:  How to Create the Metallic Edge Step 1. Let's set-up our document first. Width: 600 px Height: 600 px Units: Pixels Colour Mode: CMYK Raster Effects: High (300 ppi) Then click OK. 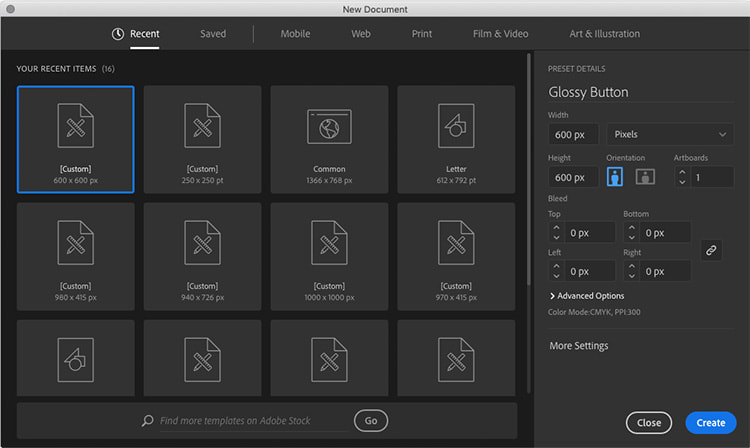 Step 2. To create the first circle, use the Ellipse Tool and click once on the artboard. In the Ellipse Window, enter these values and click OK. Width: 350 px Height: 350 px  Step 3. To create the shiny metallic effect, let's give the circle a linear gradient fill at -45°. Go to Window > Gradient to open the Gradient Panel (if it isn't already open) and use the following values: 1. K=50 2. K=5 3. K=25 4. K=5 5. K=10 6. K=25 7. K= 45 8. K=10 9. K=50 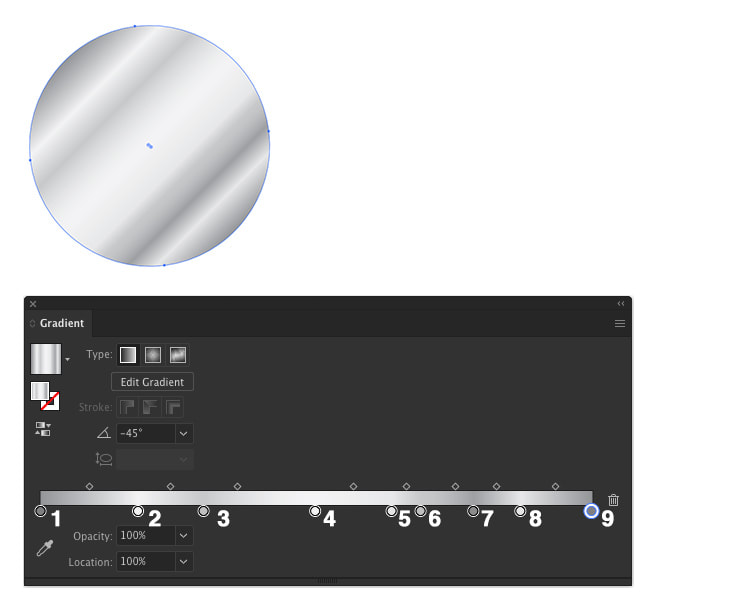 Step 4. For this step let's use the Ellipse Tool again, click once on the artboard and use these values: Width: 320 px Height: 320 px Then click OK.  Step 5. Centre the smaller circle with the larger one. Next give the smaller circle a linear gradient fill, this time at 45° with the following values: 1. K=50 2. K=5 3. K=5 4. K=25 5. K=5 6. K=10 7. K=25 8. K=10 9. K=50 10. K=10 11. K=5 12. K=50 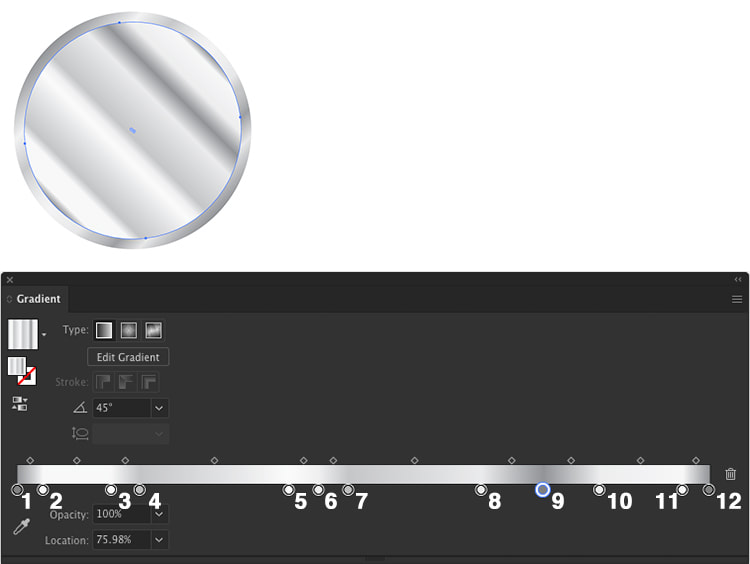 Create the Red Centre Step 1. First we'll create the dark red circle using the Ellipse Tool, create a circle with values of 305 px then click OK.  Step 2. Centre the new circle with the two metallic ones and fill with: C=0 M=100 Y=100 K=90 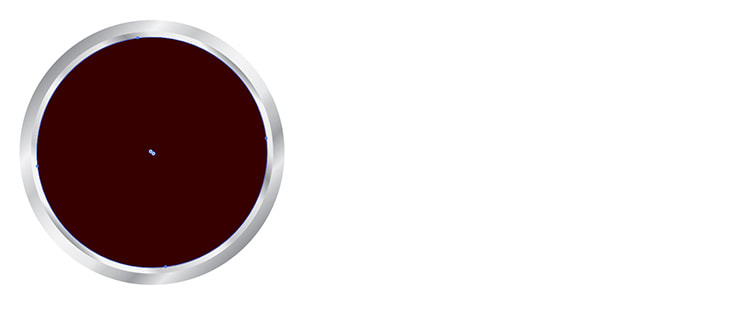 Step 3. To add in the centre of the red button, use the Ellipse Tool and use these values: Width: 290 px Height: 290 px Then click OK. 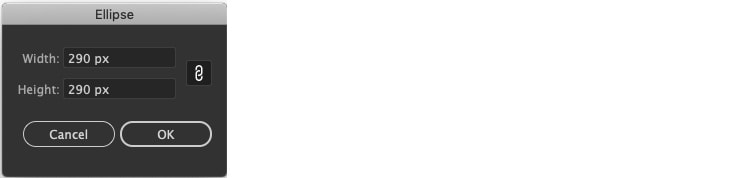 Step 4. Centre the circle and use a radial gradient fill with the following values: 1. C=0 M=70 Y=70 K=0 2. C=0 M=100 Y=100 K=0 3. C=10 M=100 Y=90 K=20 4. C=15 M=100 Y=90 K=60 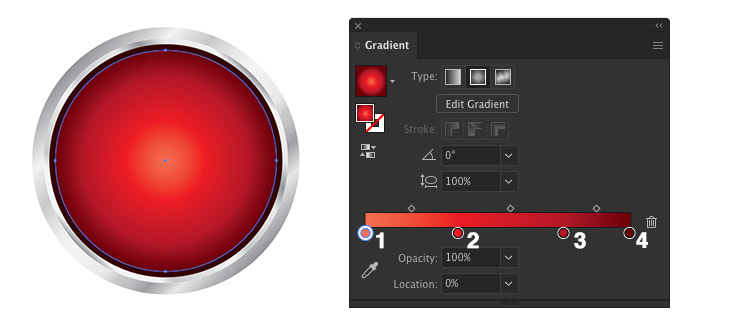 Add the Highlights and Shadow Step 1. Let's create the lower highlight first. Create two circles with the Ellipse Tool with values of 290 px. 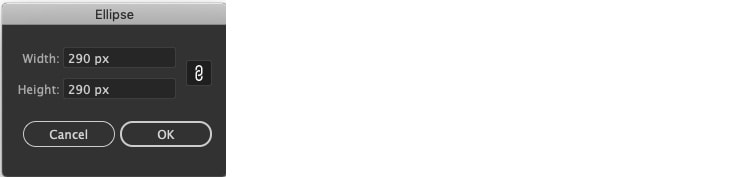 Step 2. Centre the two circles and move the top one slightly above the lower one. (Shown here as red for the top and black for the lower one). Go to Window > Pathfinder to open the Pathfinder Panel. With both shapes selected, under Shape Modes: select Minus Front (highlighted in yellow below) to create a crescent shape. 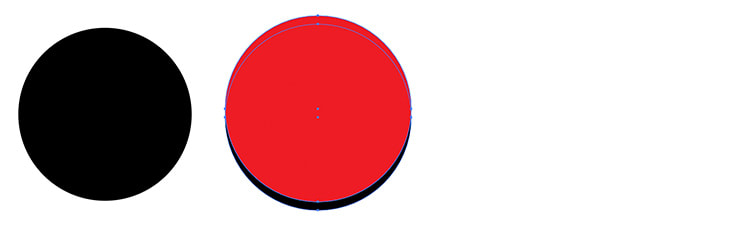 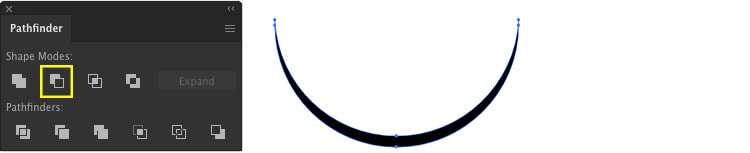 Step 3. Align the crescent shape to the bottom of the red circle (with the radial gradient fill). Give this shape a linear gradient fill at -90° using these values: 1. K=0, Opacity 0% 2. K=0, Opacity 100% With the crescent shape still selected go to Window > Appearance. In the Appearance Panel, under Fill, change the Opacity to 40%. 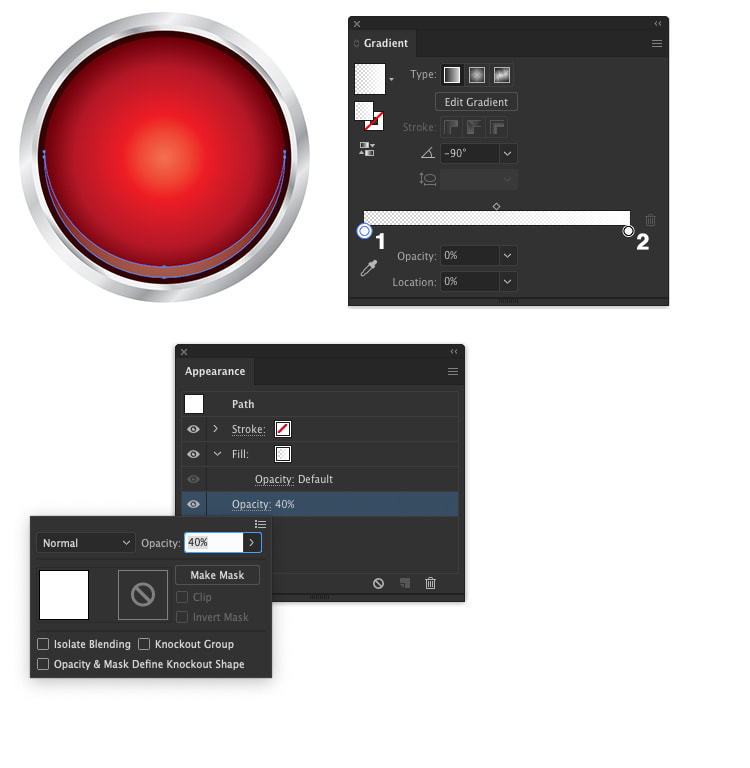 Step 4. To create the larger upper glossy highlight, draw an oval with the Ellipse Tool using the values: Width: 210 px Height: 140 px Then click OK.  Step 5. Align with the top-centre of the red circle and as with the lower highlight, we will give this shape a linear gradient fill at -90° using these values: 1. K=0, Opacity 100% 2. K=0, Opacity 0% With the oval shape selected go to the Appearance Panel and under Fill change the Opacity to 70%.  Step 6. For the final highlight, create a circle with width and height values of 45 px.  Step 7. Move the circle to the lower right of the larger oval highlight. This time we'll fill this highlight with a radial gradient fill using these values: 1. K=0, Opacity 60% 2. K=0, Opacity 0% 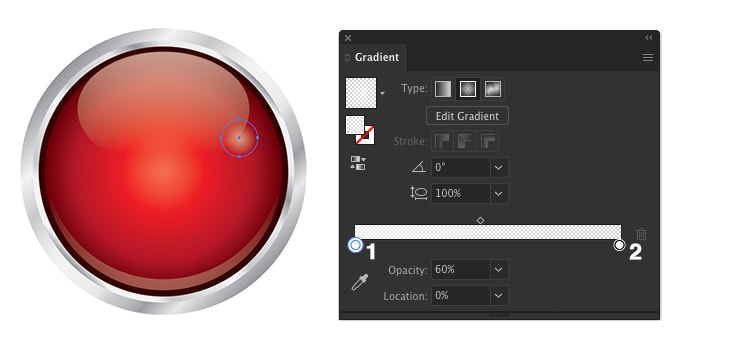 Step 8. For the last step, let's add a drop shadow to the larger metallic circle. Select it with the Selection Tool and go to Effect > Stylize > Drop Shadow. Use the following values: Mode: Multiply Opacity: 75% X Offset: 3 px Y Offset: 5 px Blur: 5 px Colour: Black Then click OK. 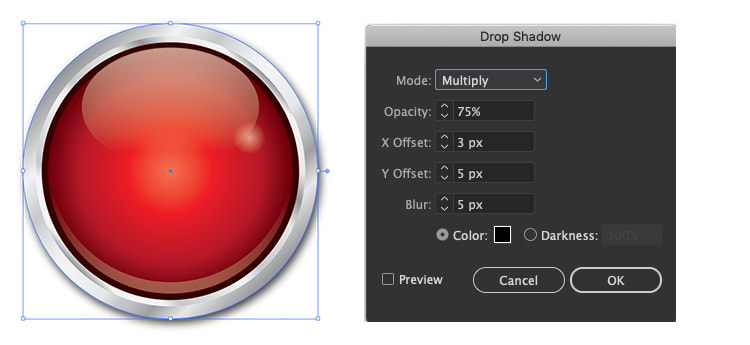 Here's the finished button, you can always change-up the colours! 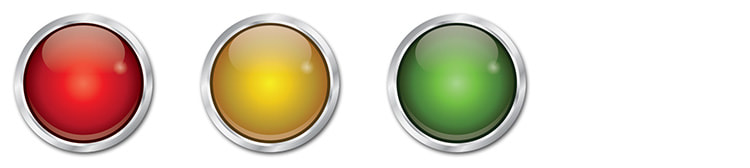 Thank you for reading this tutorial, if you would like to download the free button graphic, click here!
Comments are closed.
|
Contact UsLocal: 604-270-8682
Toll-free: 1-800-663-8273 Weekdays 9AM – 5PM
|
Visit Us#7 - 12840 Bathgate Way,
Richmond, BC, V6V 1Z4 |
|
|