|
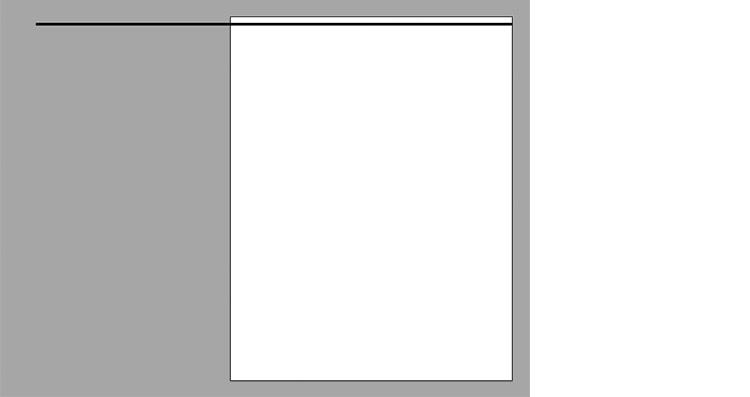
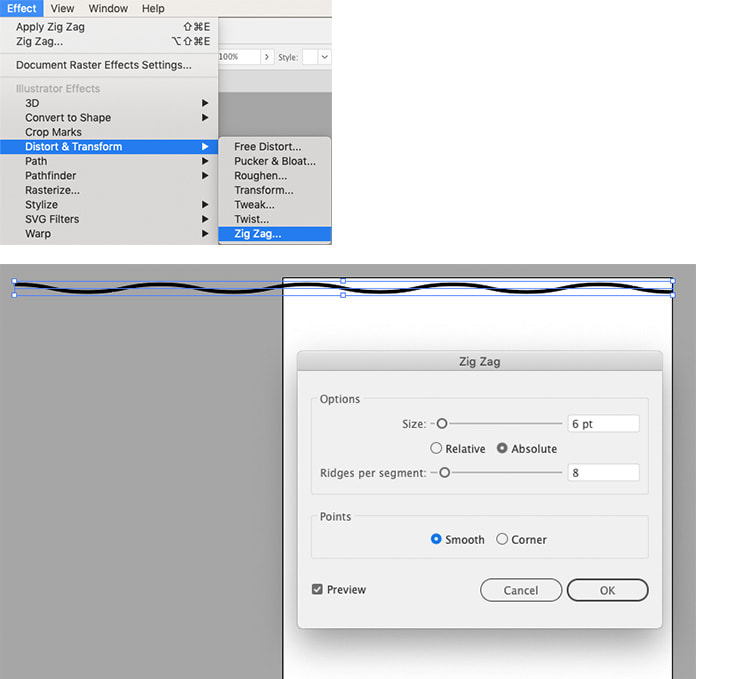
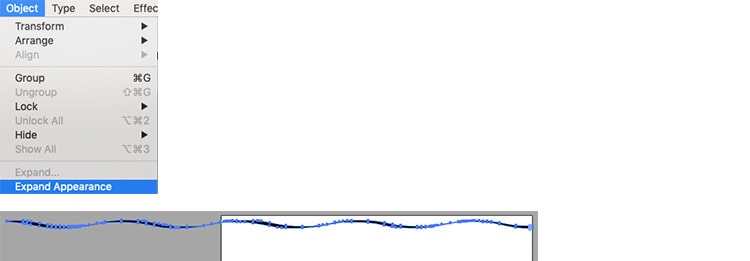
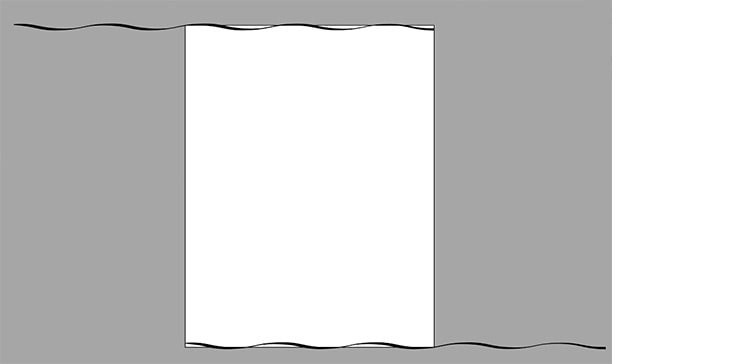
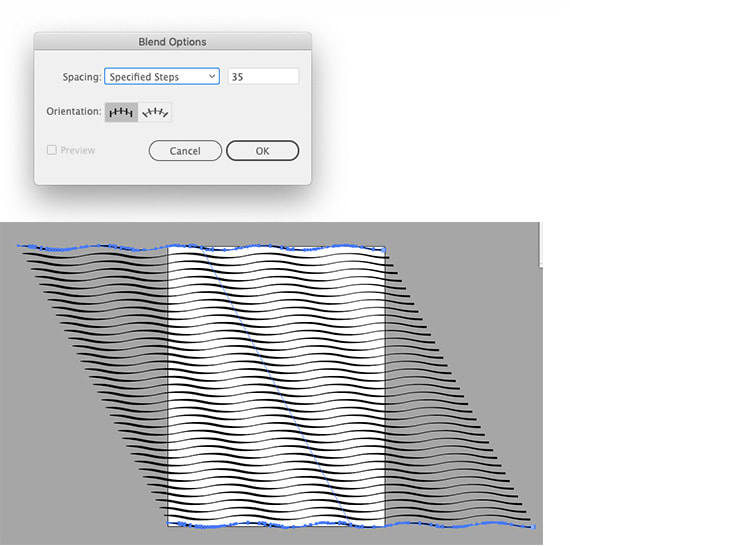
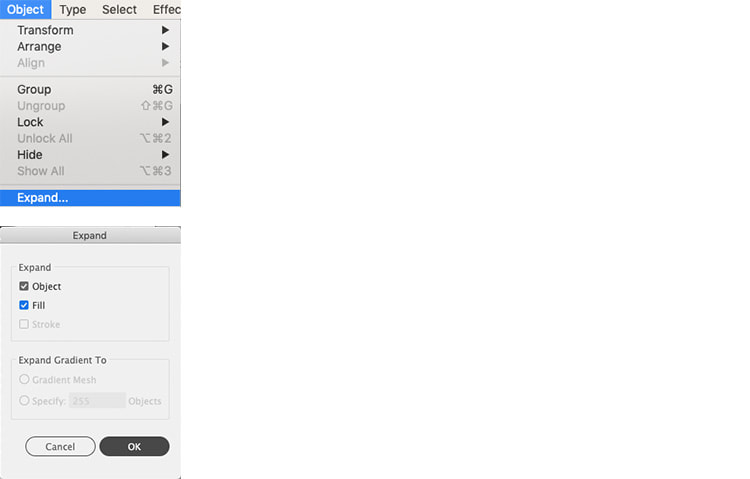
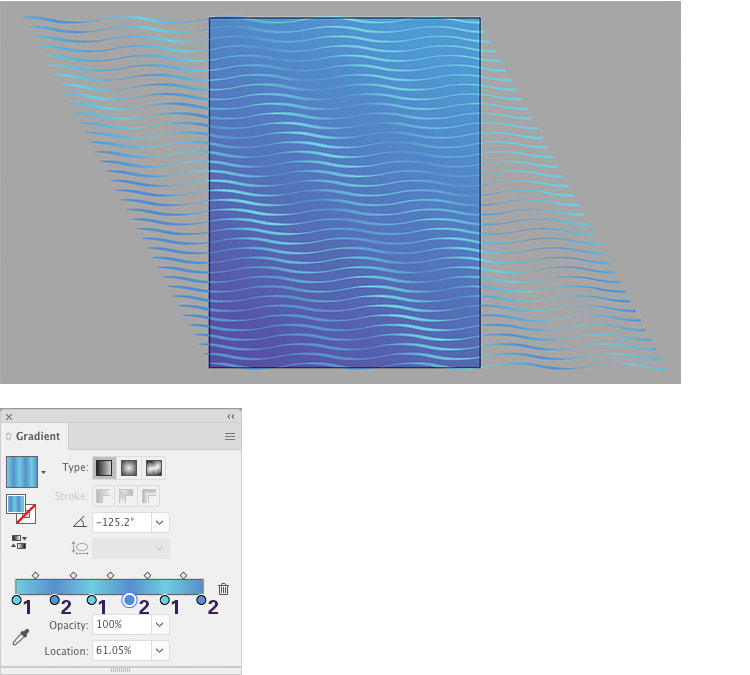
For this tutorial we will be making an abstract wavy background using just a couple of tools in Adobe Illustrator. Step 1. First use the Pen Tool to draw a line which extends far past the left side of the artboard. Give it about a 6pt line. Step 2. With the line still selected, go to Effect > Distort & Transform > Zig Zag, and use these settings: Size: 6pt Ridges per segment: 8 Points: Smooth The click OK. Step 3. Now using Width Tool click on the line where the zig zag intersects with the blue guideline. Click and drag away from the line to increase the width on the downward curve, then do the reverse for the upwards curves to get a result like below. Step 5. Keep the line selected and go to Object > Expand Appearance. Step 6. Make a copy of your line and drag it to the lower edge of the artboard, aligning the line with the left edge and having the right side overlap the right edge. Step 7. Select both lines with the Selection Tool then go to Object > Blend > Blend Options. Choose Specified Steps from the drop down menu, and use the value 35 (or increase for closer lines). Then, with the lines still selected go to Object > Blend > Make, the result should be similar to below. Step 8. Keeping the blend selected go to Object > Expand, ensure Object and Fill are checked then click OK. Step 9. To create this linear gradient effect, first add in a rectangle behind the lines with a blue to purple gradient, then select the wavy lines group with the Selection Tool. Use these colour values: 1. R=110 G=205 B=224 2. R=88 G=143 B=203 Here's the final result!
Thank you for reading this tutorial, to check out our other vector tutorials click here. Comments are closed.
|
Contact UsLocal: 604-270-8682
Toll-free: 1-800-663-8273 Weekdays 9AM – 5PM
|
Visit Us#7 - 12840 Bathgate Way,
Richmond, BC, V6V 1Z4 |
|

