|
Let's create this simple brushed metal effect background in Adobe Illustrator. Below is a preview of the finished result: 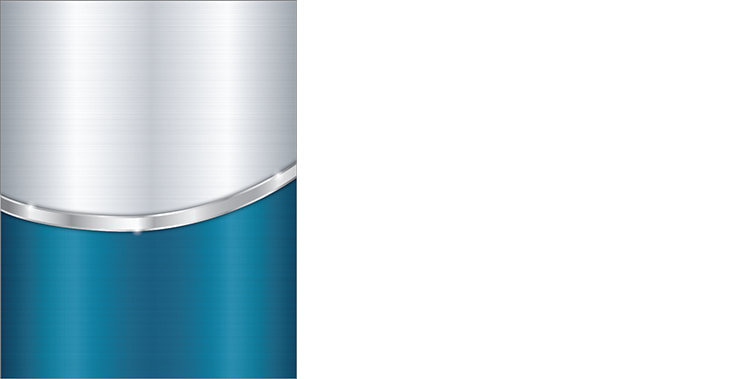 If you would like to download this background, click here! (Graphic in CMYK colour mode for printing, setup for letter size with approx ¼" bleed). How to Create the Silver Brushed Metal Background Step 1. First we'll create a new document with these settings: Width: 650 px Height: 830 px Units: Pixels Colour Mode: CMYK (under advanced options) Raster Effects: High (300 ppi) Then click Create. 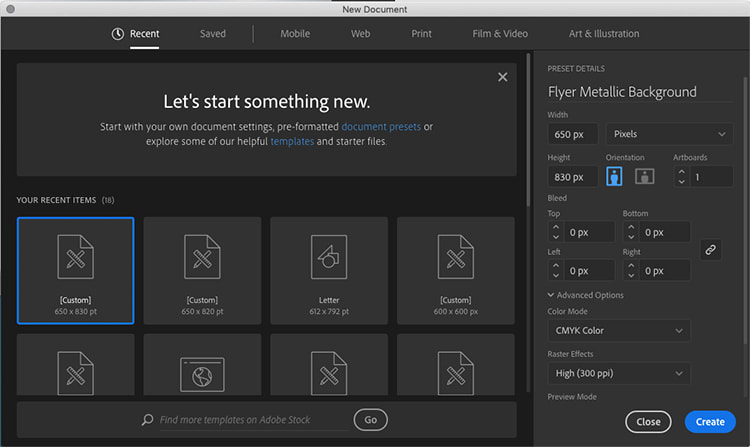 (Even though the document is set-up as 650px X 830px, when set to Raster Effects: High (300ppi) , the file when exported will actually be sized at 2708px X 3458px automatically for print). Step 2. Select the Rectangle Tool and click once on the top left corner of the artboard. Enter these values: Width: 650 px Height: 830 px Then click OK. 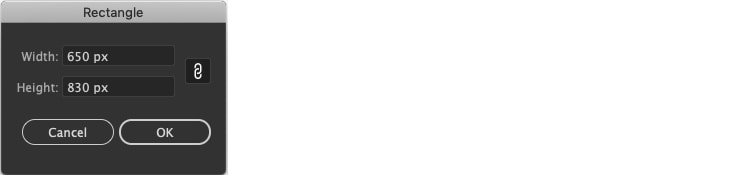 Step 3. To create the metallic effect we'll give this rectangle a linear gradient fill with these values: 1. K=45 2. K=4 3. K=28 4. K=4 5. K=45 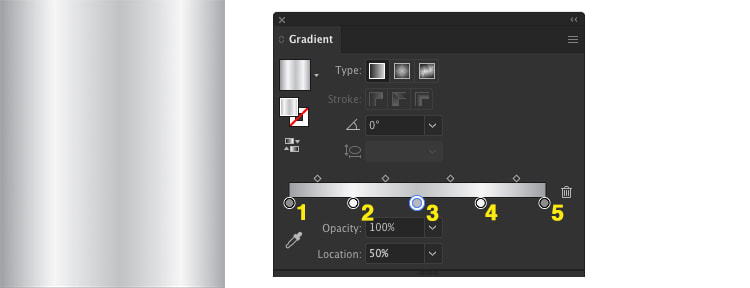 Step 4. Let's add the brushed metal effect, using the Selection Tool click on the rectangle. Go to Effect > Texture > Grain and input these values: Intensity: 7 Contrast: 5 Grain Type: Horizontal Then click OK. 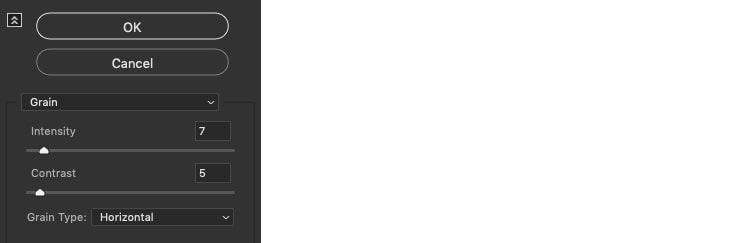 How to Create the Blue Brushed Metal Shape Step 1. Using the Pen Tool, draw a curved shape across the width of the rectangle. Seen below in solid black. 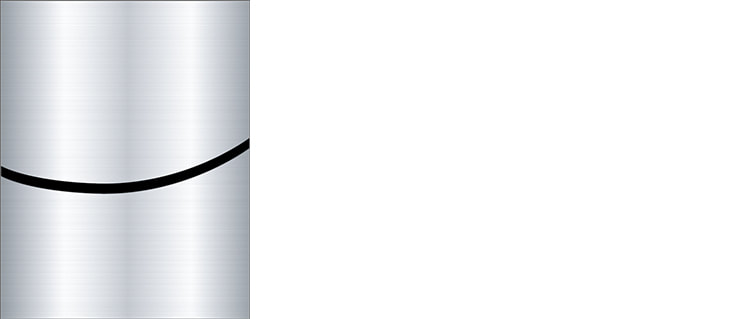 Step 2. Now, use the Selection Tool, select both the rectangle and the curved shape from the previous steps. Go to Window > Pathfinder, when the Pathfinder Panel is open select Divide under the category "Pathfinders:" (the first option on the second row).  Step 3. Keeping the result selected, go to Object > Ungroup. 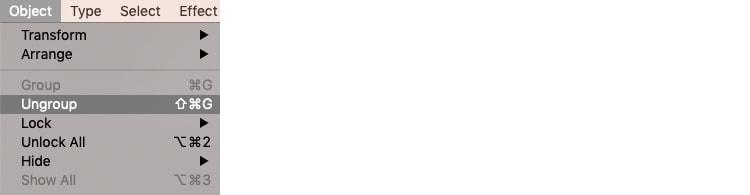 Step 4. Use the Selection Tool and select the lower shape. In the Gradient Panel change the values from greys to: 1. C=100 M=66 Y=20 K=0 2. C=68 M=16 Y=0 K=0 3. C=86 M=44 Y=4 K=0 4. C=68 M=16 Y=0 K=0 5. C=100 M=66 Y=20 K=0 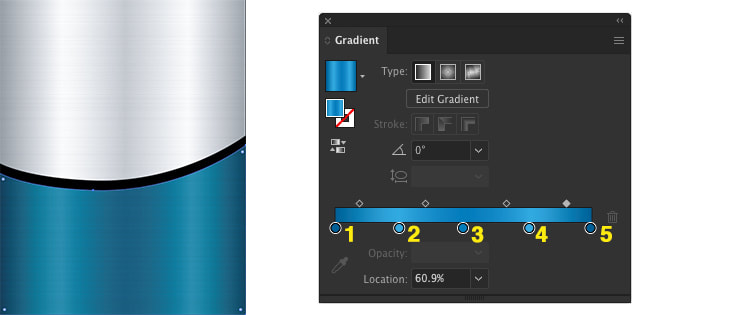 Create the Metallic Bar Step 1. Let's also give this shape a metallic linear gradient fill using these values: 1. K=60 2. K=8 3. K=50 4. K=2 5. K=40 6. K= 8 7. K=40 8. K=10 9. K=25 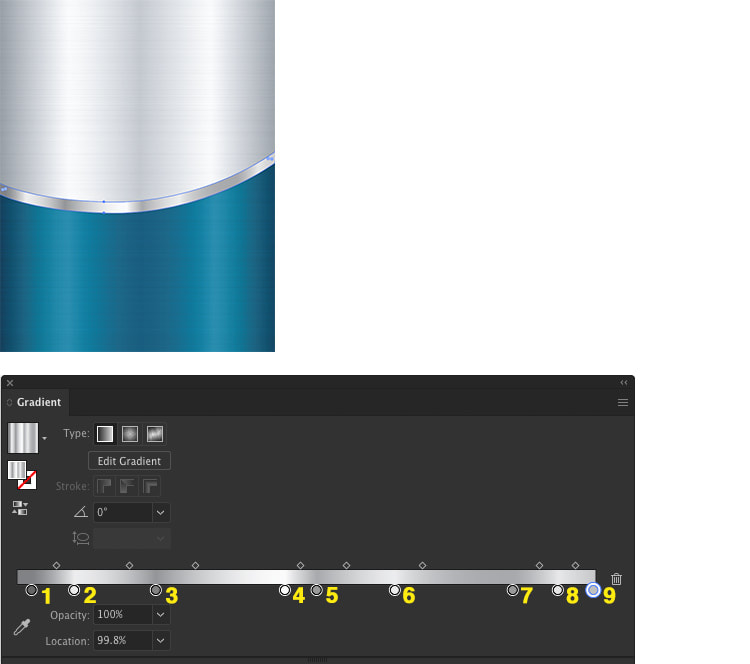 Step 2. Keep the bar selected then open the Stroke Panel. Add a Stroke of 4pt and Align Stroke to Outside. In the Gradient Panel, give the stroke a linear gradient, for option Stroke: select the first option of Apply gradient within stroke: 1. K=25 2. K=10 3. K=40 4. K=8 5. K=40 6. K=2 7. K=50 8. K=8 9. K=60 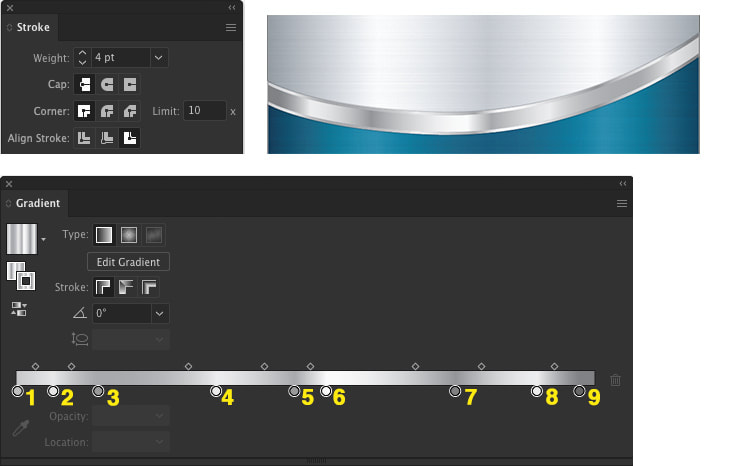 Step 3. To complete the bar, select it using the Selection Tool then go to the menu Effect > Stylize > Drop Shadow, input these values: Mode: Multiply Opacity: 100% X Offset: 0px Y Offset: 0px Blur: 5px Colour: Black (K=100) Then click OK. 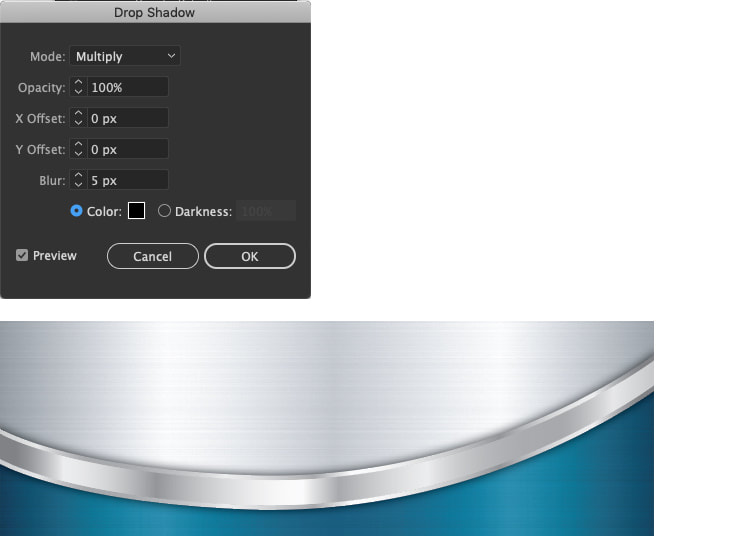 Add Highlights to the Bar Step 1. Let's add a few subtle highlights to the central bar. Using the Ellipse Tool click once and create an ellipse with values: Width: 40px Height: 40px Then click OK. Give the ellipse a radial gradient fill. Set both gradient colours to white and give the left one an Opacity of 100%, and the right one an Opacity of 0%. Add the ellipses along the edge of the bar where the gradient fill is lightest. 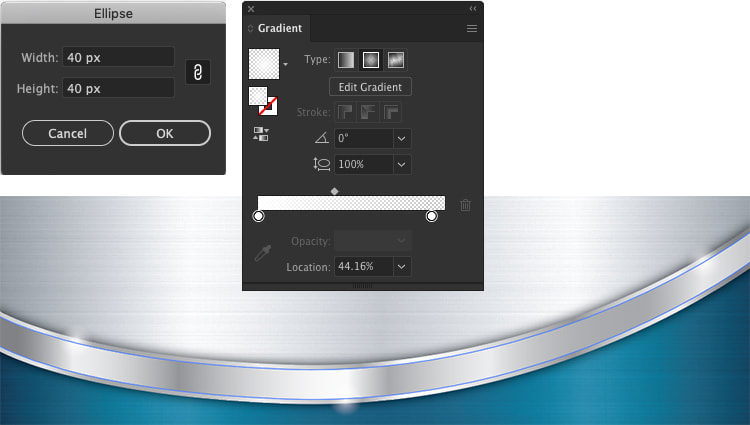 Thank you for reading this tutorial, if you would like to download this free background, click here!
Comments are closed.
|
Contact UsLocal: 604-270-8682
Toll-free: 1-800-663-8273 Weekdays 9AM – 5PM
|
Visit Us#7 - 12840 Bathgate Way,
Richmond, BC, V6V 1Z4 |
|
|