|
Today you will be creating this quick and simple sale sticker in Adobe Illustrator. Below is a preview of the sticker.  If you would like to download the plain sticker, click here! (Graphic in CMYK colour mode for printing) How to Create the Red Circular Sticker Step 1. First let's create the document. Width: 250 pt Height: 250 pt Units: Points Color Mode: CMYK Raster Effects: High (300 ppi) Then click OK. 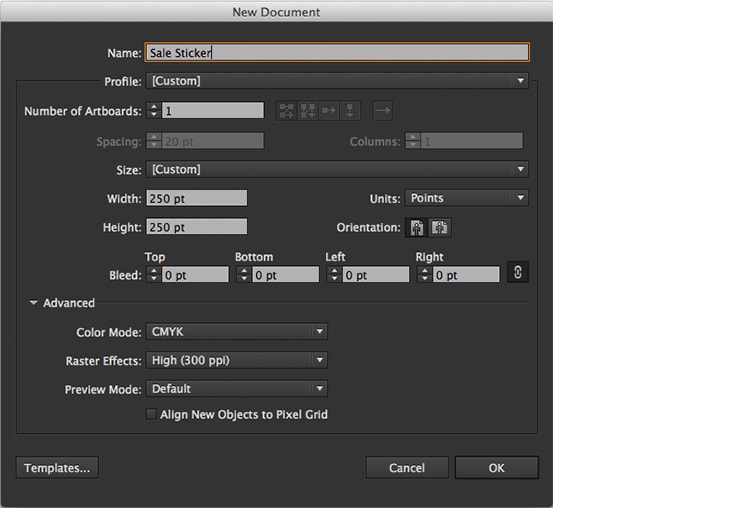 Step 2. Using the Ellipse Tool, click once on the artboard and use the values: Width: 225 pt Height: 225 pt Click OK.  Step 3. Go to Window > Gradient to open the Gradient Panel. Now fill the circle with a linear gradient at -60° using these values: 1. C=0 M=100 Y=100 K=0 2. C=15 M=100 Y=90 K=30 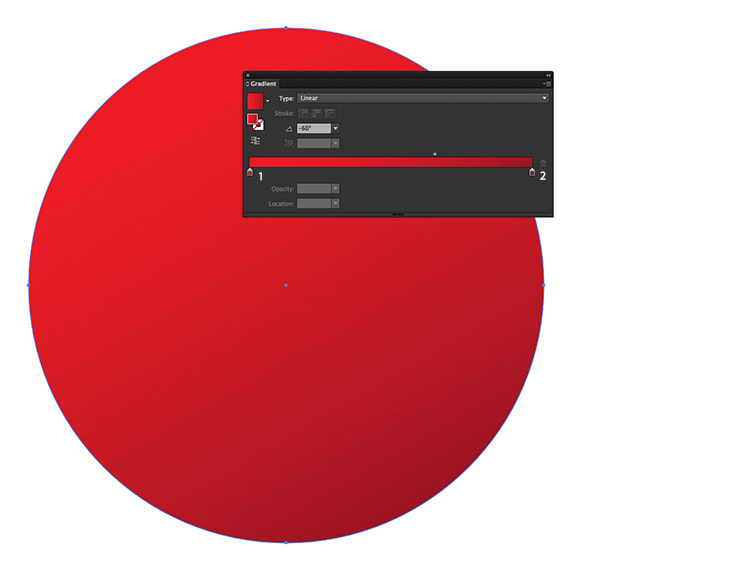 How to Create the Curl Step 1. First let's decide which corner will peel back. Using the Pen Tool, draw a triangle extending past the circle's edges. 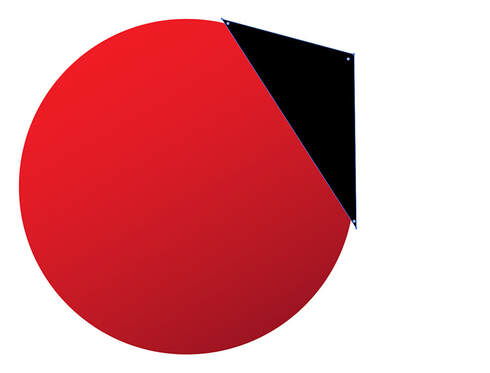 Step 2. Now select both the circle and the triangle, go to Window > Pathfinder and in the Pathfinder Panel click Divide under Pathfinders. 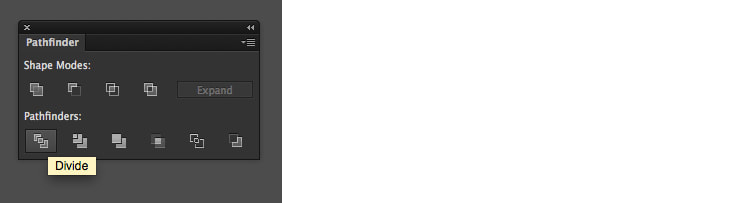 Step 3. In the Layers Panel, you should have a group. With the group selected, go to Object > Ungroup. 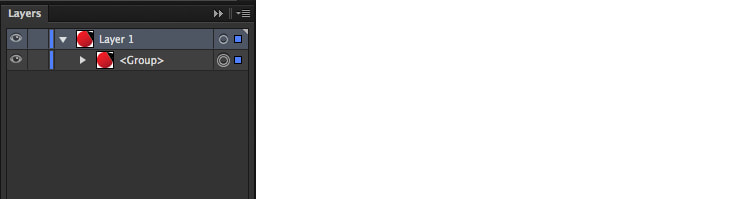 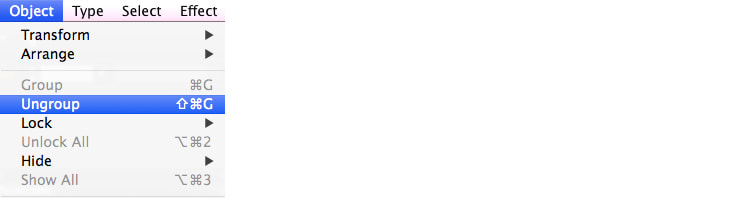 Step 4. Delete the remainder of the triangle that sits outside of the circle.  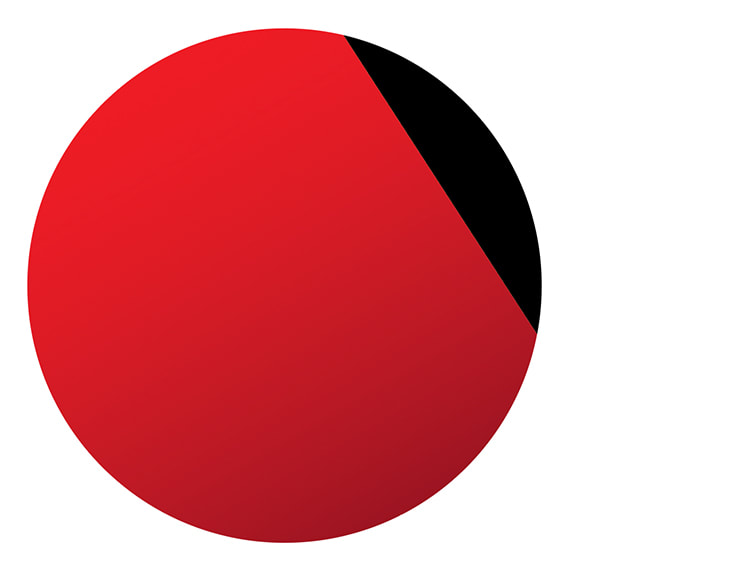 Step 5. To create the peeling effect, use the Selection Tool and select the corner shape left over from the divided triangle in the previous step. With this selected, go to Object > Transform > Reflect. In the Reflect Options Window, select Horizontal with a 0° and click OK. 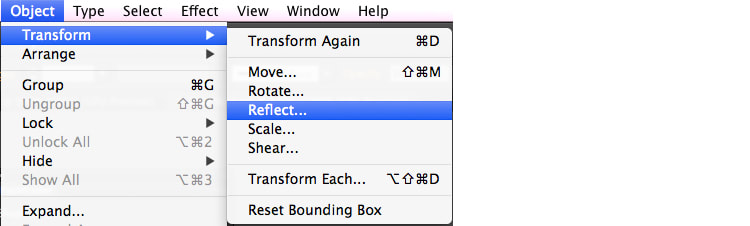 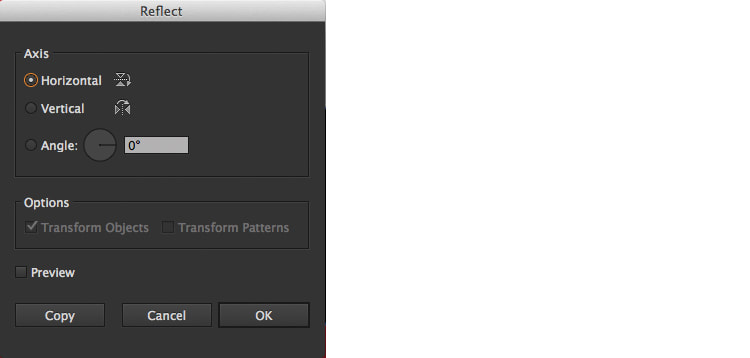 With the corner shape still selected, go to Object > Transform > Reflect, again, and this time choose Vertical with a 90° and click OK. 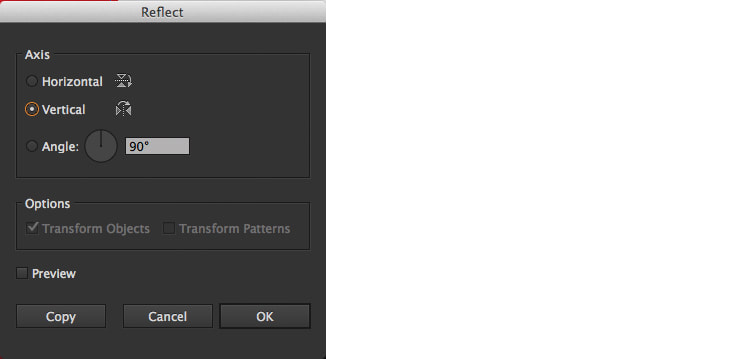 The result should look similar to this.  Step 6. Now let's give the curl some definition. In the Gradient Panel, give the curl shape a linear gradient at 32° (adjust as necessary to the correct angle for your shape) and use these values: 1. K=90 2. K=20 3. K=60 4. K=0 5. K=50 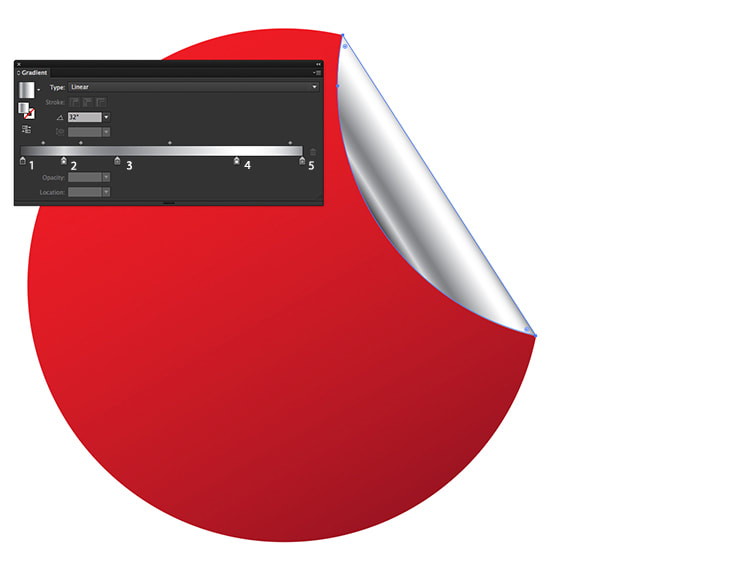 Step 7. For the last part let's add a drop shadow underneath the curl. With the Selection Tool, select the corner shape and go to Effect > Stylize > Drop Shadow and use these values: Mode: Multiply Opacity: 50% X Offset: -4 pt Y Offset: 7 pt Blur: 5 pt Colour: Black Then click OK. 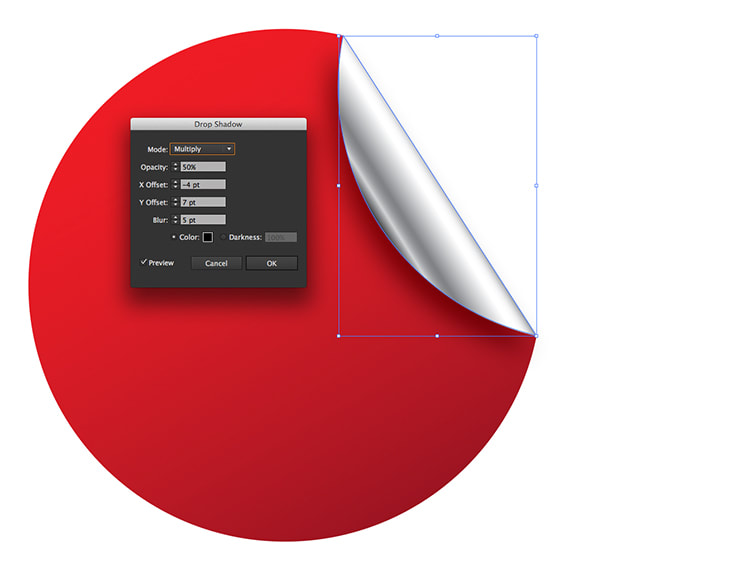 How to Create the Text Step 1. Use the Text Tool and type in the text you would like to appear on the sticker. When finished, use the Selection Tool and select all text. Go to Type > Create Outlines and then fill with white in the Swatches Panel. With all the text selected, go to Object > Group.  Step 2. Now we can move the text group onto the sticker, when your happy with the placement, and with the text selected, use either Command + [ on your keyboard, or click and drag the text group underneath <Path> in the Layers Panel. (<Path> is the default name of the two shapes shape). I've renamed my text group "TEXT" for reference.   Thank you for reading this tutorial, if you would like to download the plain red sticker click here!
Comments are closed.
|
Contact UsLocal: 604-270-8682
Toll-free: 1-800-663-8273 Weekdays 9AM – 5PM
|
Visit Us#7 - 12840 Bathgate Way,
Richmond, BC, V6V 1Z4 |
|
|