|
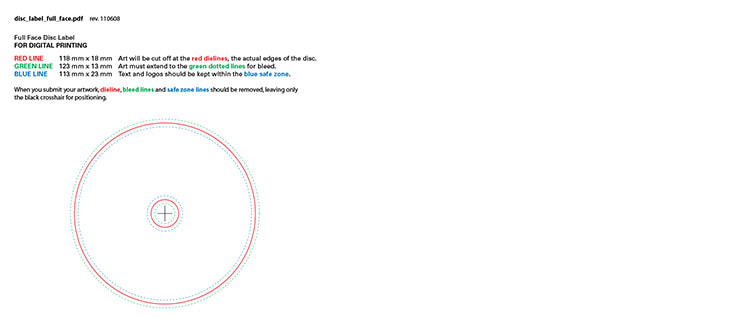
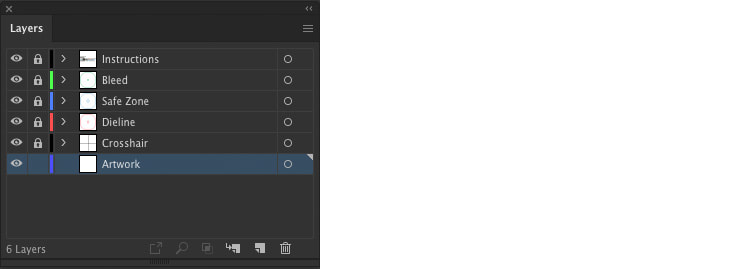
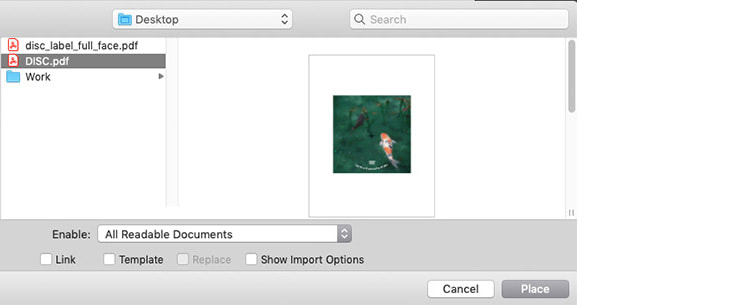
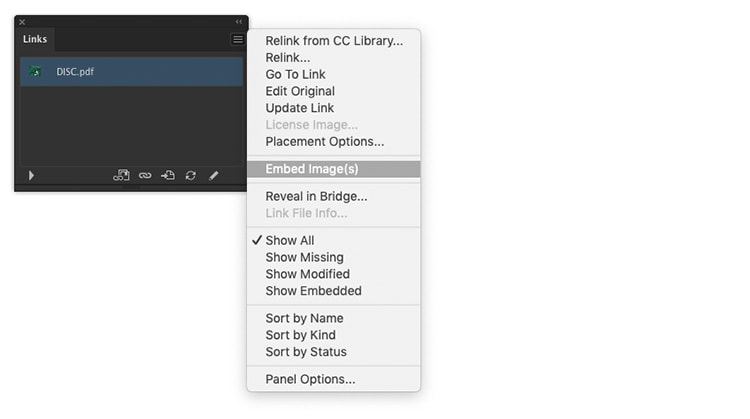
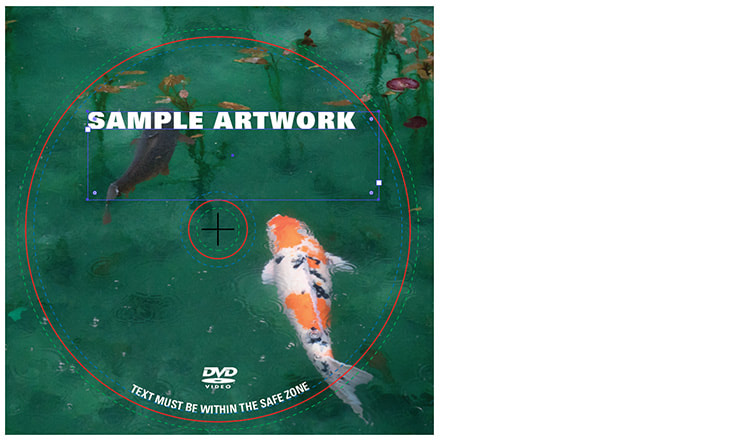
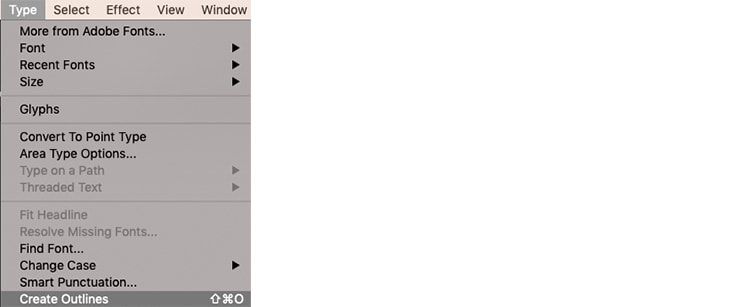
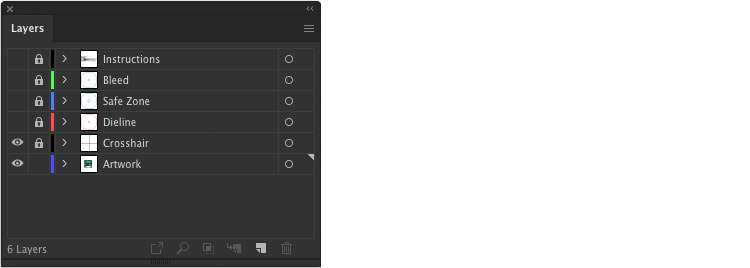
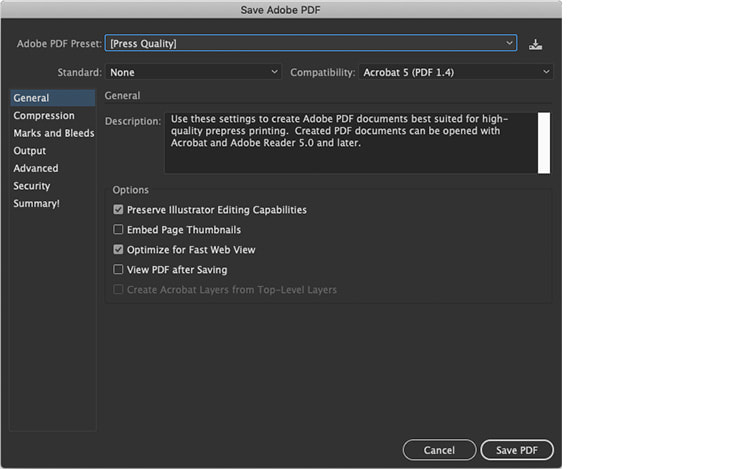
Need some help with placing your design in our artwork templates? Today we'll guide you on setting up disc artwork correctly in Illustrator so that it's ready for printing. Using Illustrator to Build Your Artwork Step 1. Open up the PDF template in Adobe Illustrator. You should see text instructions and green/red/blue lines on the artboard. Step 2. Go to the Layers Panel. All layers except the Artwork layer are locked. To place your artwork, ensure that you have selected the Artwork layer (elements cannot be placed on locked layers). Step 3. When placing artwork into the template, make sure that the box Link is unchecked, then click Place. Step 4. All artwork that bleeds off the disc edge must extend to (or past) the green dotted lines outside of the red dielines. Text must be kept within the blue dotted lines inside the red dielines. Step 5. To check if your image links are embedded or linked; open both the Appearance Panel and the Links Panel. Click on an image, if it says "Linked File" in the Appearance Panel, go to the Links Panel and click the three lines in the top right of the panel to open a menu. Select "Embed Images(s)". When a link has been embedded a square & triangle symbol will appear to the right of it in the Links Panel. Step 6. We recommend keeping an Illustrator .ai file saved to your desktop before this next step so that any future text changes can be made if necessary. All text must be converted to outlines, this ensures no missing font issues when sending the files for printing. Select all text with the Direct Selection Tool and go to Type > Create Outlines. You will now see all text has been converted to outlines (and is no longer editable with the Type Tool). Step 7. In your Layers Panel, turn off dielines by clicking the eye icons left of the Dieline/Safe Zone/Bleed/Instructions layers to hide them. The only layers that need to be visible for printing are the Crosshair and Artwork layers. Step 8. Your artwork should look like this, with the crosshair visible, no dielines visible and the minimum amount of bleed (if required). Step 9. To save the artwork for printing, go to File > Save As and select Adobe PDF for the format, then click Save. Choose Adobe PDF Preset: [Press Quality] and keep "Preserve Illustrator Editing Capabilities" checked, then click Save PDF. We offer graphic design services, if you would like to us build your artwork for you please contact us here. If you would like to watch the video tutorials on how to prepare artwork with our templates in Adobe Photoshop & Illustrator, please click the button below.
Comments are closed.
|
Contact UsLocal: 604-270-8682
Toll-free: 1-800-663-8273 Weekdays 9AM – 5PM
|
Visit Us#7 - 12840 Bathgate Way,
Richmond, BC, V6V 1Z4 |
|

