|
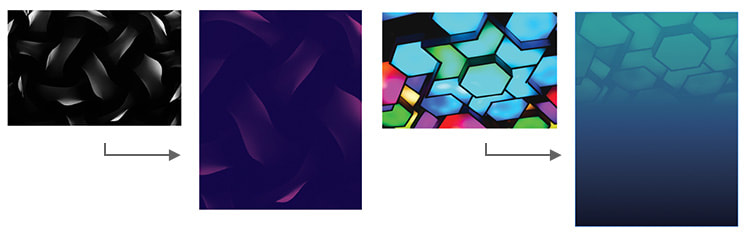
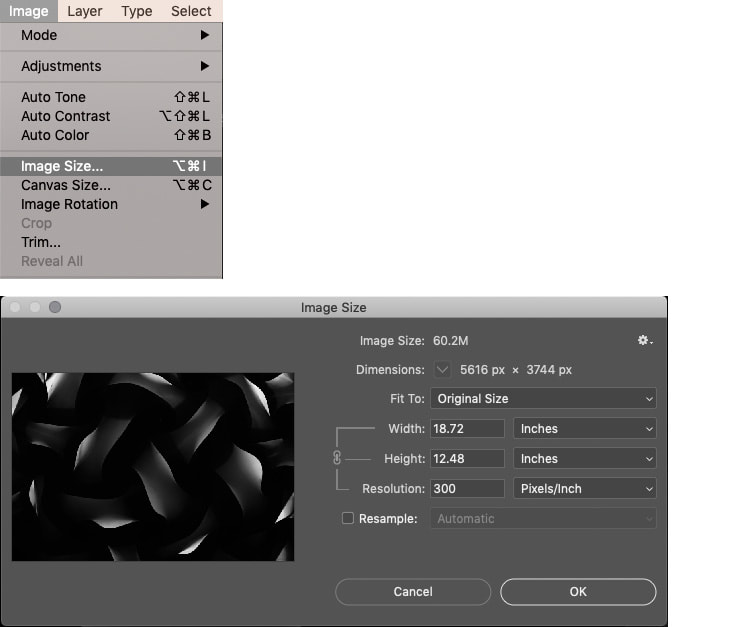
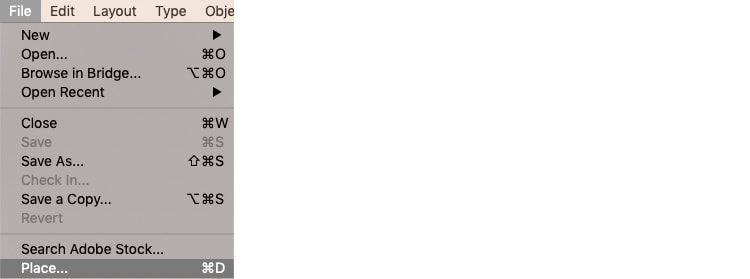
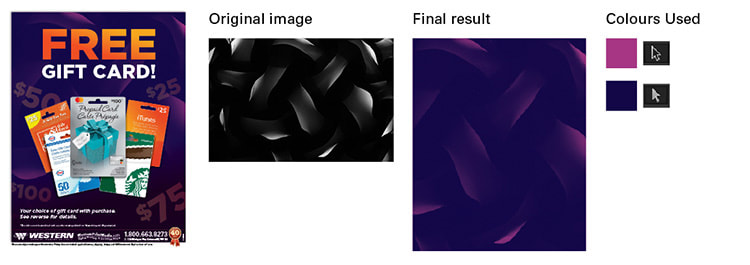
You can find the original images at the links below: https://www.pexels.com/photo/photo-of-blue-pink-and-green-led-light-775907/ https://unsplash.com/photos/mVuKCYMGZBM Convert a JPEG to a Greyscale TIFF in Photoshop Step 1. Open your image in Photoshop and go to the menu Image > Image Size. In the Image Size Window, make sure Resample is unchecked and type a value of: Resolution: 300 Pixels/Inch Then click OK. Step 2. With your image resized, go to the menu and click Image > Mode > Grayscale. Step 3. Now that we've made these changes, let's re-save this image as a TIFF file. Go to File > Save As. In the window make sure the Format: is set to TIFF, then hit Save. Add Colour to the TIFF in your InDesign Document Step 1. Set-up your print file in InDesign, when you're ready to place the background image go to File > Place and choose your TIFF file. Step 2. Use the Selection Tool to select your TIFF file and choose a colour from the Swatches Panel. This will add colour to the highlights in the TIFF image. Step 3. With the image still selected, use the Direct Selection Tool and select a colour from the Swatches Panel. This will add colour to the shadows in the image. In the example below, a deep pink was chosen with the Selection Tool for the highlights. For the shadows, the Direct Selection Tool uses a deep purple colour. Experiment with the Gradient Feather Tool Step 1. Using the same method as above to alter the colours of the greyscale TIFF. Once complete, reduce the TIFF's opacity to 35-50%. Step 2. Next, place a rectangle behind it (at 100% opacity) with a gradient fill. Try using the same colours you've chosen for the TIFF. Step 3. Now we'll use the Gradient Feather Tool and feather out the lower edge to get rid of any harsh lines where the image ends (if it does not cover the entire area of the gradient fill rectangle). Below, an aqua green was chosen with the Selection Tool for the highlights. For the shadows, the Direct Selection Tool uses a navy blue colour. The TIFF only covers the top half of the gradient fill box below, the Gradient Feather Tool softened the lower edge of the image to blend it with the gradient fill rectangle. Thank you for reading this tutorial, if you would like to check out our vector freebies, click here!
Comments are closed.
|
Contact UsLocal: 604-270-8682
Toll-free: 1-800-663-8273 Weekdays 9AM – 5PM
|
Visit Us#7 - 12840 Bathgate Way,
Richmond, BC, V6V 1Z4 |
|


